Knee Stability and Injury Prevention in Skiing – Tips for the Slopes
This session specifically improves knee stability, leg alignment control, and the activation speed of individual muscles. It strengthens the muscle groups important for skiing and is designed to specifically prevent injuries.
Time
- 45 minutes
- 15 exercises
The exercises in this workout cover four key areas:
1. Rate of Force Development – Important for quick changes in direction
Rate of force development describes how quickly muscles can generate force after the nervous system activates them. In skiing, sudden movements—such as initiating a turn or stabilizing on uneven terrain or during a fall—are common.
- Why is this important for the knee? Rapid muscle reactions protect the knee joint from sudden stress. For example, if the knee is subjected to an unexpected impact, the quadriceps, hamstrings, and gluteal muscles can stabilize the joint before the ligaments are overstressed.
- Injury prevention: Without rapid activation, the knee remains unprotected for a brief moment, which increases the risk of ligament or meniscus injuries. Explosive exercises such as counter-movement jumps, fast leg extensions with a band, or explosive hip thrusts specifically improve this ability.
2. Core Stability – Essential for Balance and Power Transfer
The core muscles comprise the deep abdominal, back, and hip muscles. They form the stable center that transfers force from the legs to the upper body and ensures balance during dynamic movements.
- Why is this important for the knee? A stable core keeps the pelvis in a neutral position, allowing for symmetrical force transfer to both legs. Core instability often leads to uncontrolled internal rotation of the thigh, which forces the knee into a dangerous knock-knee position (valgus).
- Injury prevention: Skiers with weak core muscles are more prone to uncontrolled movements under load, which places significant stress on the cruciate ligaments and menisci. Exercises such as the Pallof Press, glute bridge on the BLACKROLL, and rotational lunges improve core stability.
3. Leg Axis Control – Prevents Misalignment and Protects the Knee
The leg axis refers to the line running from the hip joint through the knee to the ankle. A stable leg axis ensures that the knee does not deviate inward (valgus position) or outward (varus position) under load.
- Why is this important for the knee? A correct leg axis distributes the load evenly across the knee joint. Especially in skiing, where the knee is constantly bent and the leg must absorb lateral forces, a stable axis protects against overloading.
- Injury Prevention: Weak hip muscles and poor coordination can cause the knee to cave in during turns or landings. This increases the risk of injury. Exercises such as the Monster Walk, Clam, Bulgarian Split Squat, and Single-Leg Romanian Deadlift promote axis control.
4. HQ Ratio (Ratio of Front-to-Back Thigh Muscle Strength) – Balanced Strength Distribution for Healthy Knees
The strength ratio between the quadriceps (front) and hamstrings (back) is known as the HQ ratio. An ideal ratio is approximately 60:40, with the quadriceps allowed to be slightly stronger, but the posterior chain (hamstrings and glutes) should not be neglected.
- Why is this important for the knee? The quadriceps stabilize the knee from the front, while the hamstrings protect the knee from the back and prevent the so-called “drawer effect.” Quadriceps that are too strong relative to weak hamstrings pull the shin forward—a strain that puts the anterior cruciate ligament at risk.
- Injury prevention: An imbalanced quadriceps-to-hamstring ratio is one of the most common risk factors for cruciate ligament injuries, especially during uncontrolled landings and rotations in skiing. To optimize this ratio, exercises such as the leg extension with a band (quadriceps) and the single-leg Romanian deadlift, as well as the glute bridge on the Blackroll (hamstrings), are ideal.
I. Warm-up & Activation (10–15 minutes)
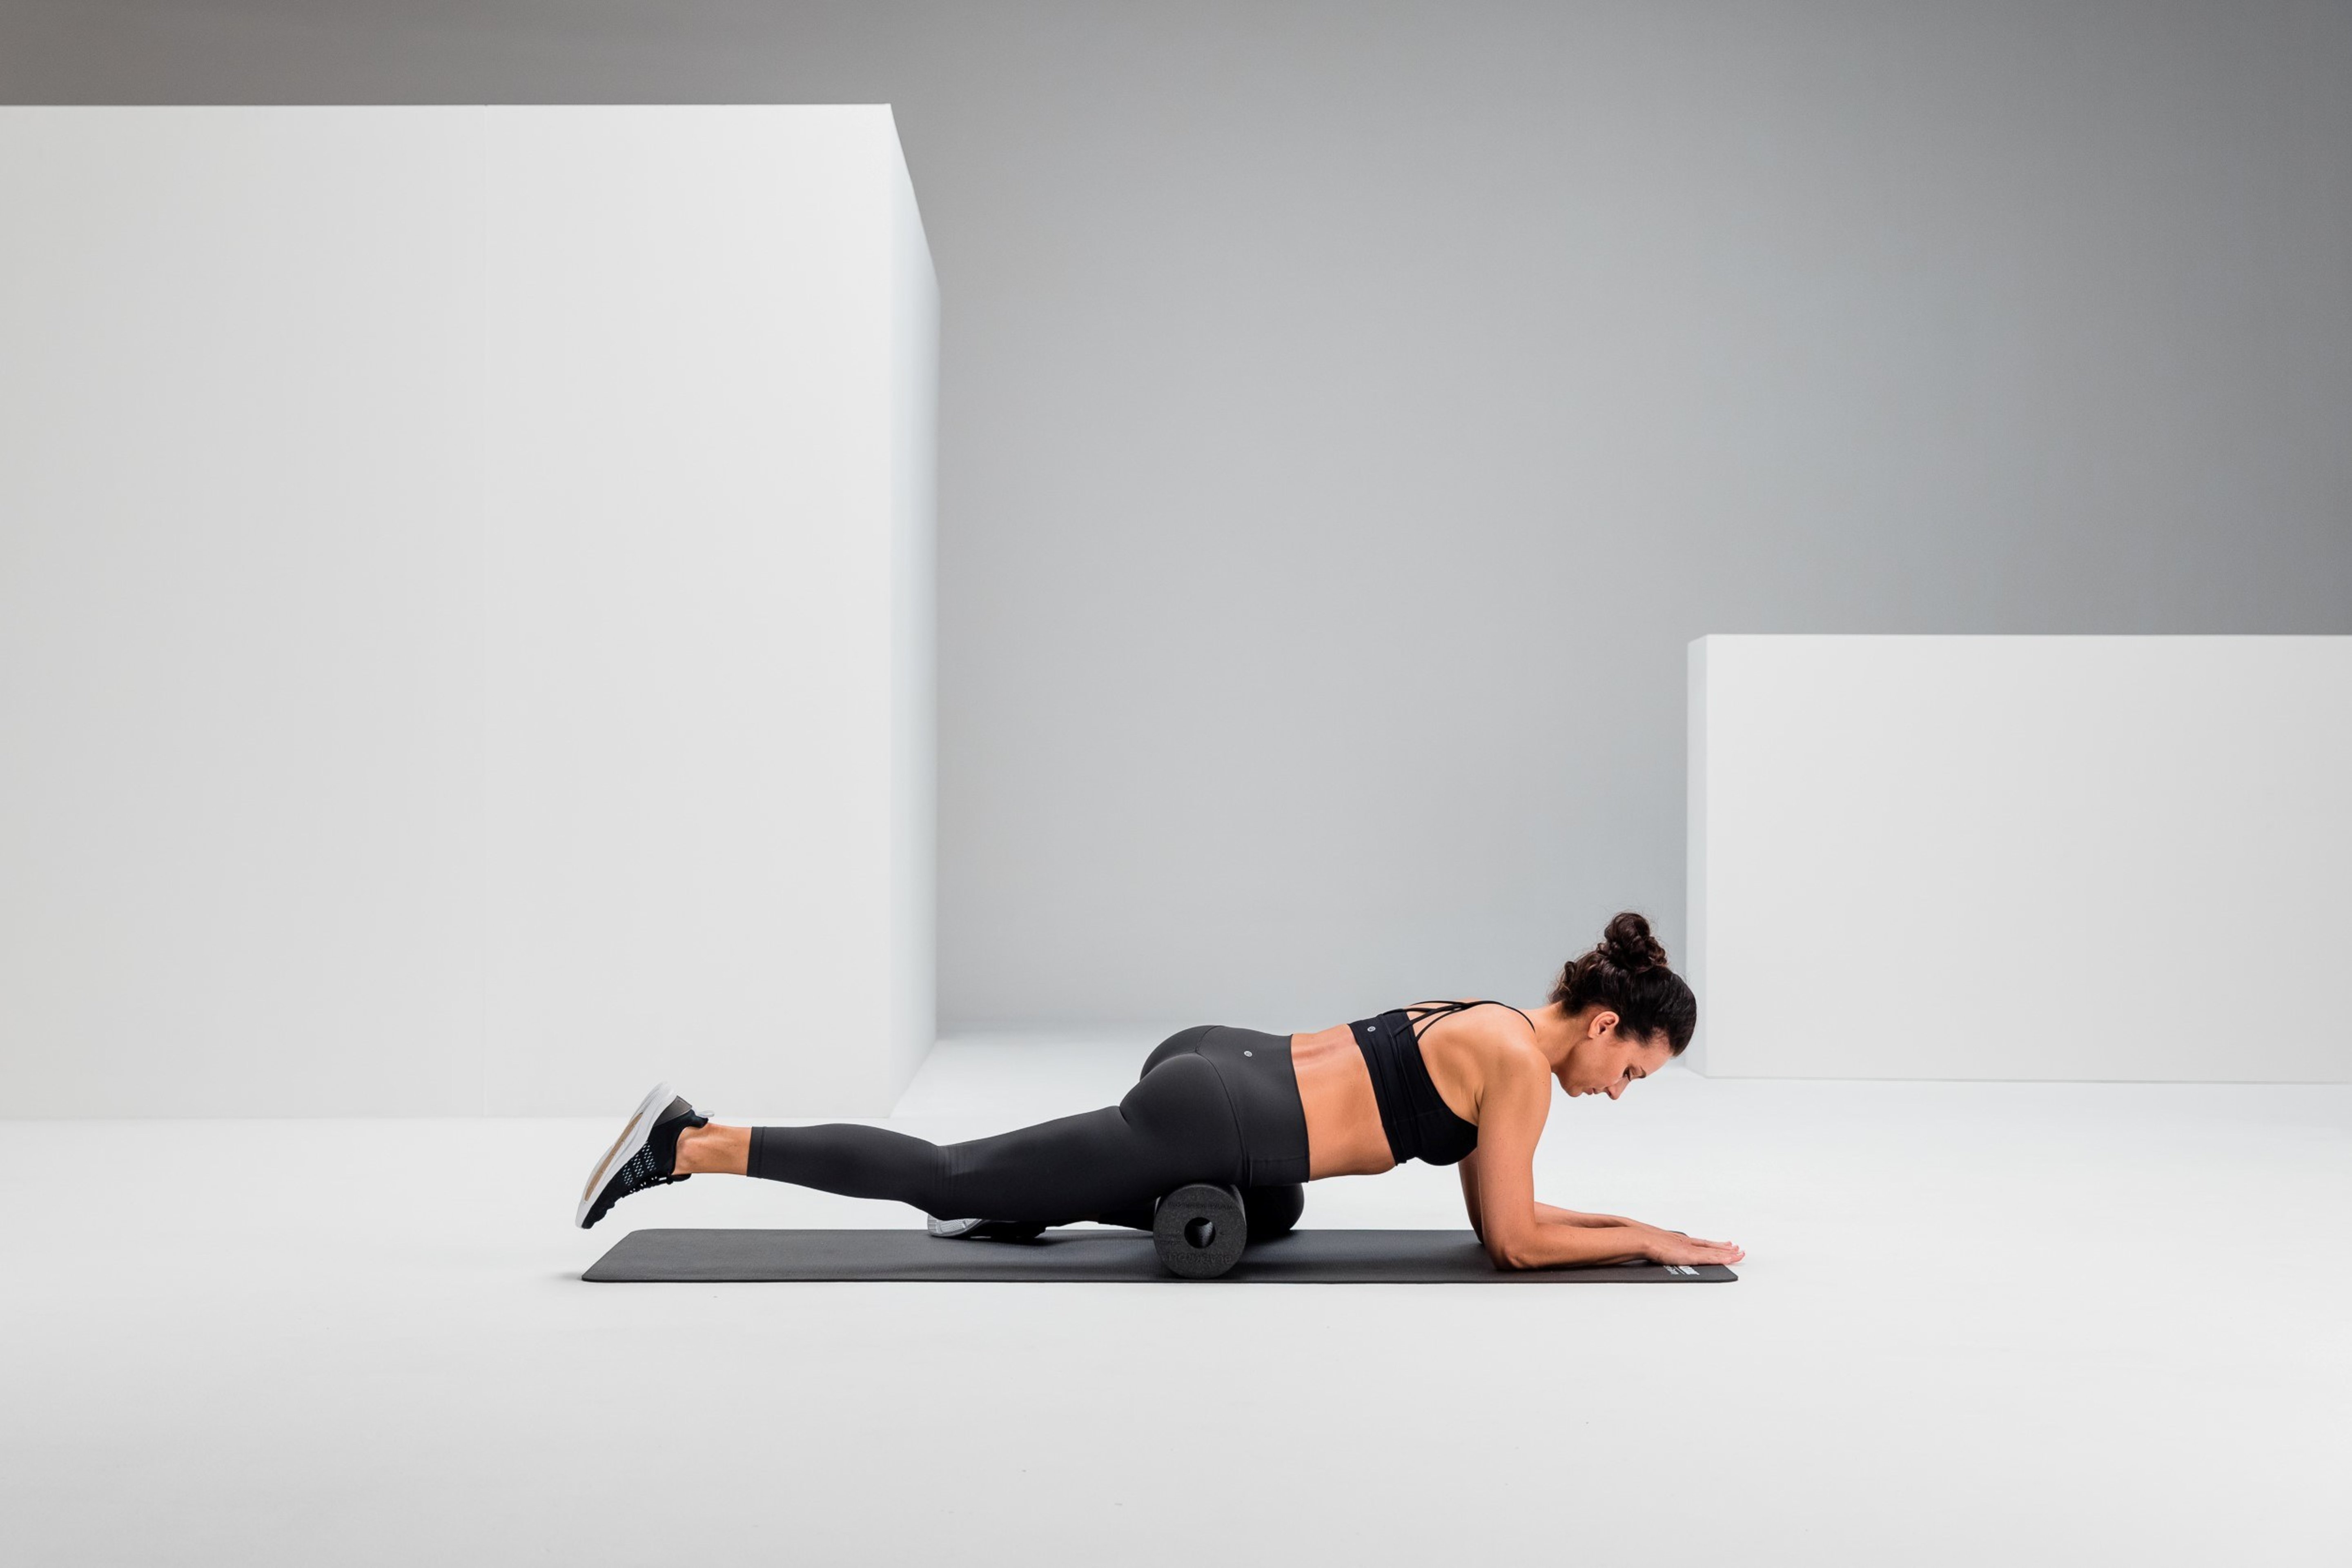
Hip Flexor Activation
Start in a forearm plank position. Place the FOAM ROLLER beneath your pelvic bone. Keep the other leg bent. Roll up and down quickly by a few centimeters.
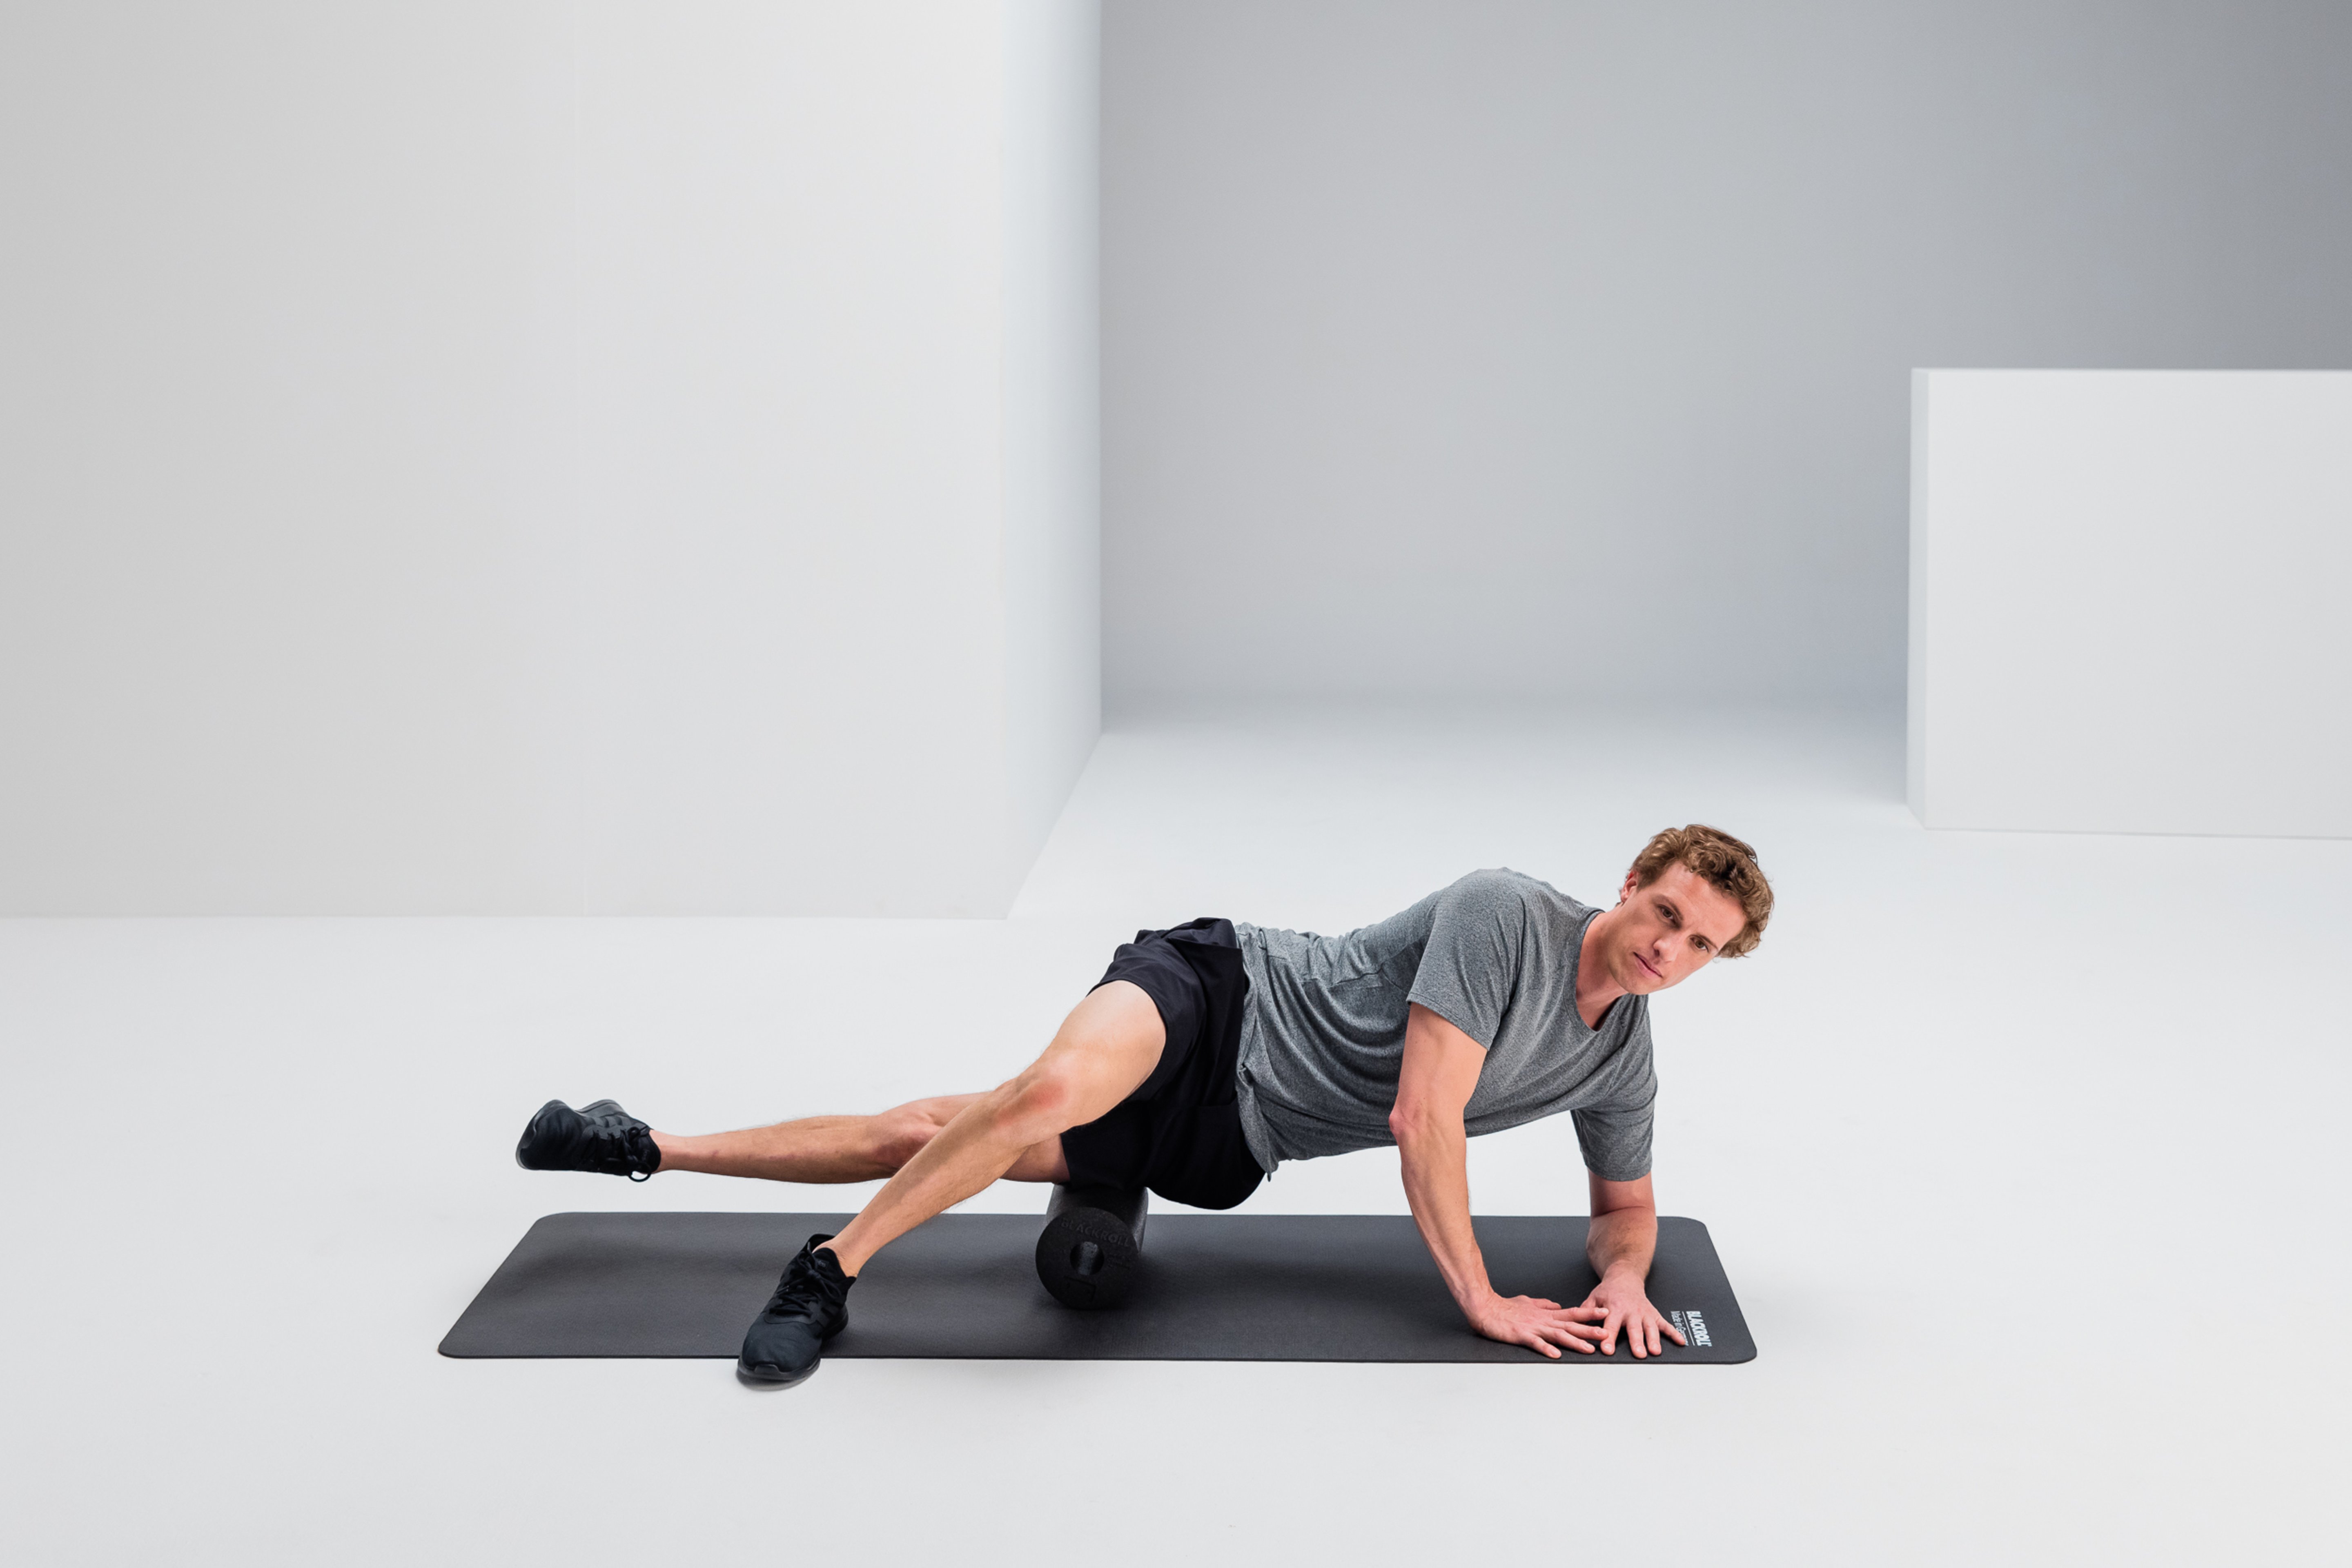
Activation of the Outer Thigh
Place the outer thigh on the FASCIAL ROLLER. Place the other leg in front of your body. Support yourself on your hands. Lift your hips. Roll out your thigh quickly.
As you roll out, turn to both sides to target even more areas of your thigh.
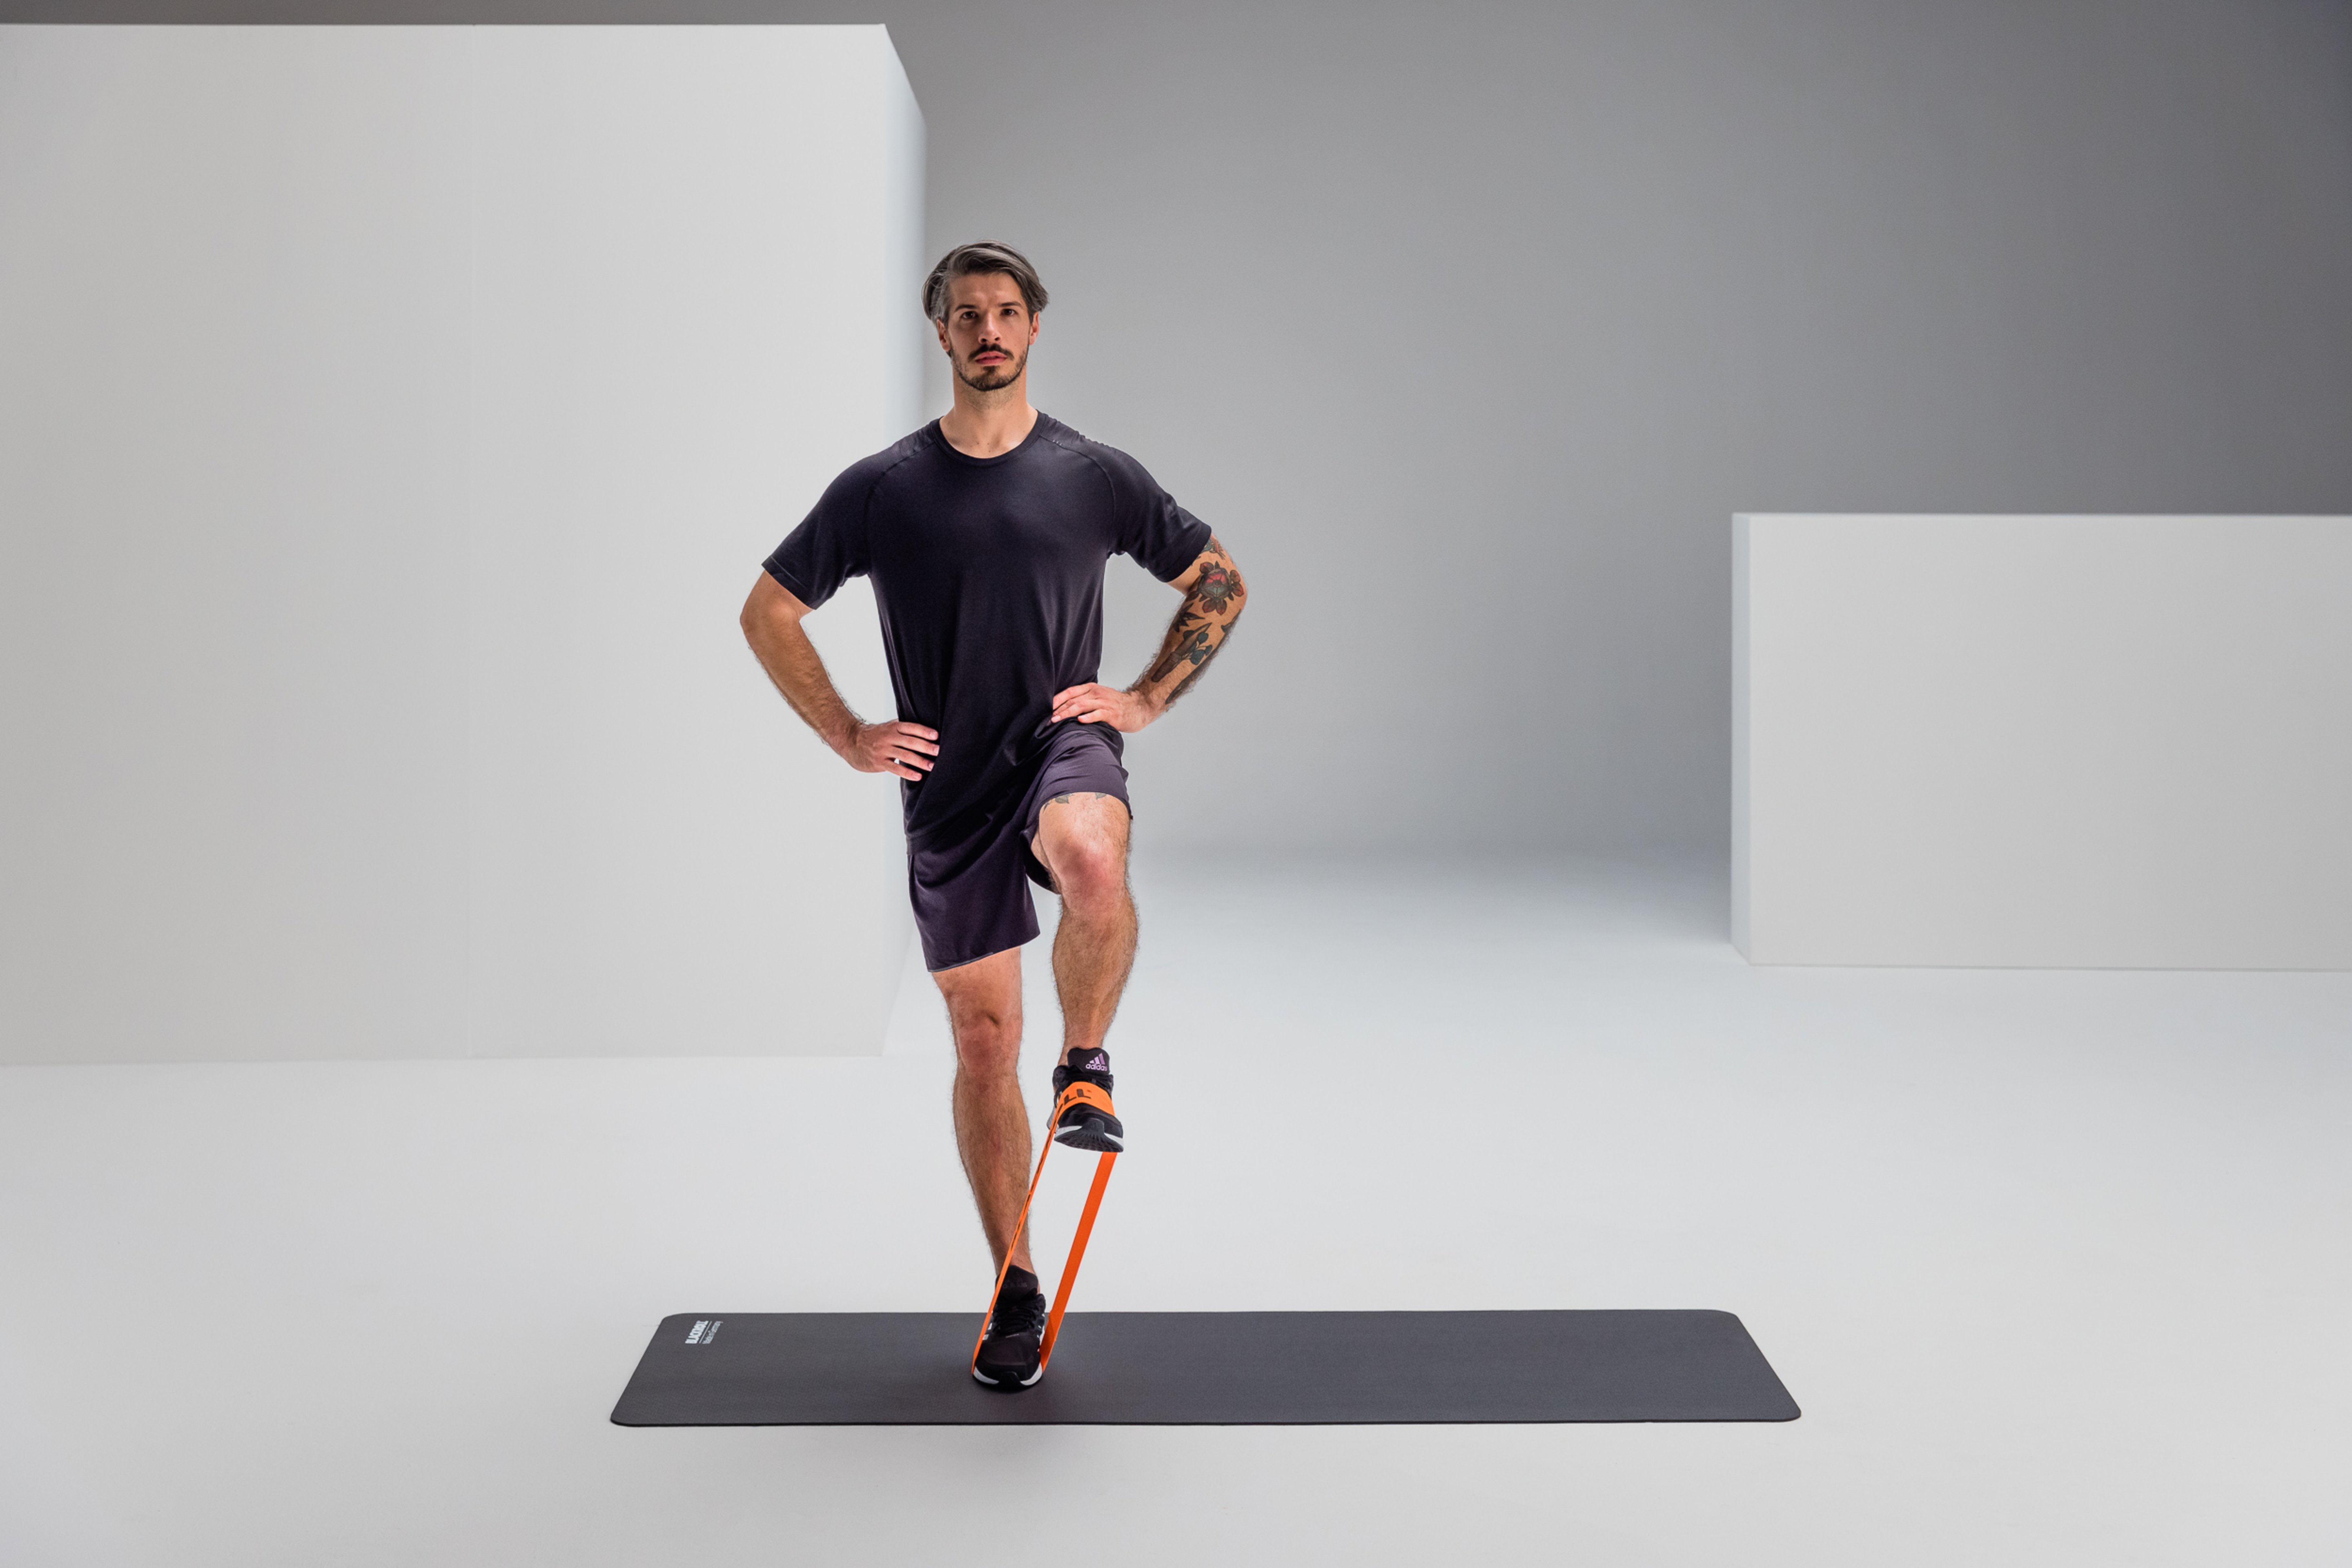
Standing Hip Flexion
Place the LOOP BAND over your feet. Stand upright with your feet hip-width apart. Pull one knee toward your chest, bending your hip at least 90 degrees. Tighten the gluteal muscles on the opposite side to maintain an upright posture.
Try to keep your knee bent past 90 degrees in the final position.
II. Main Section – Strength & Stabilization (30 minutes)
A. LEG AXIS STABILITY
(2–3 sets per exercise)
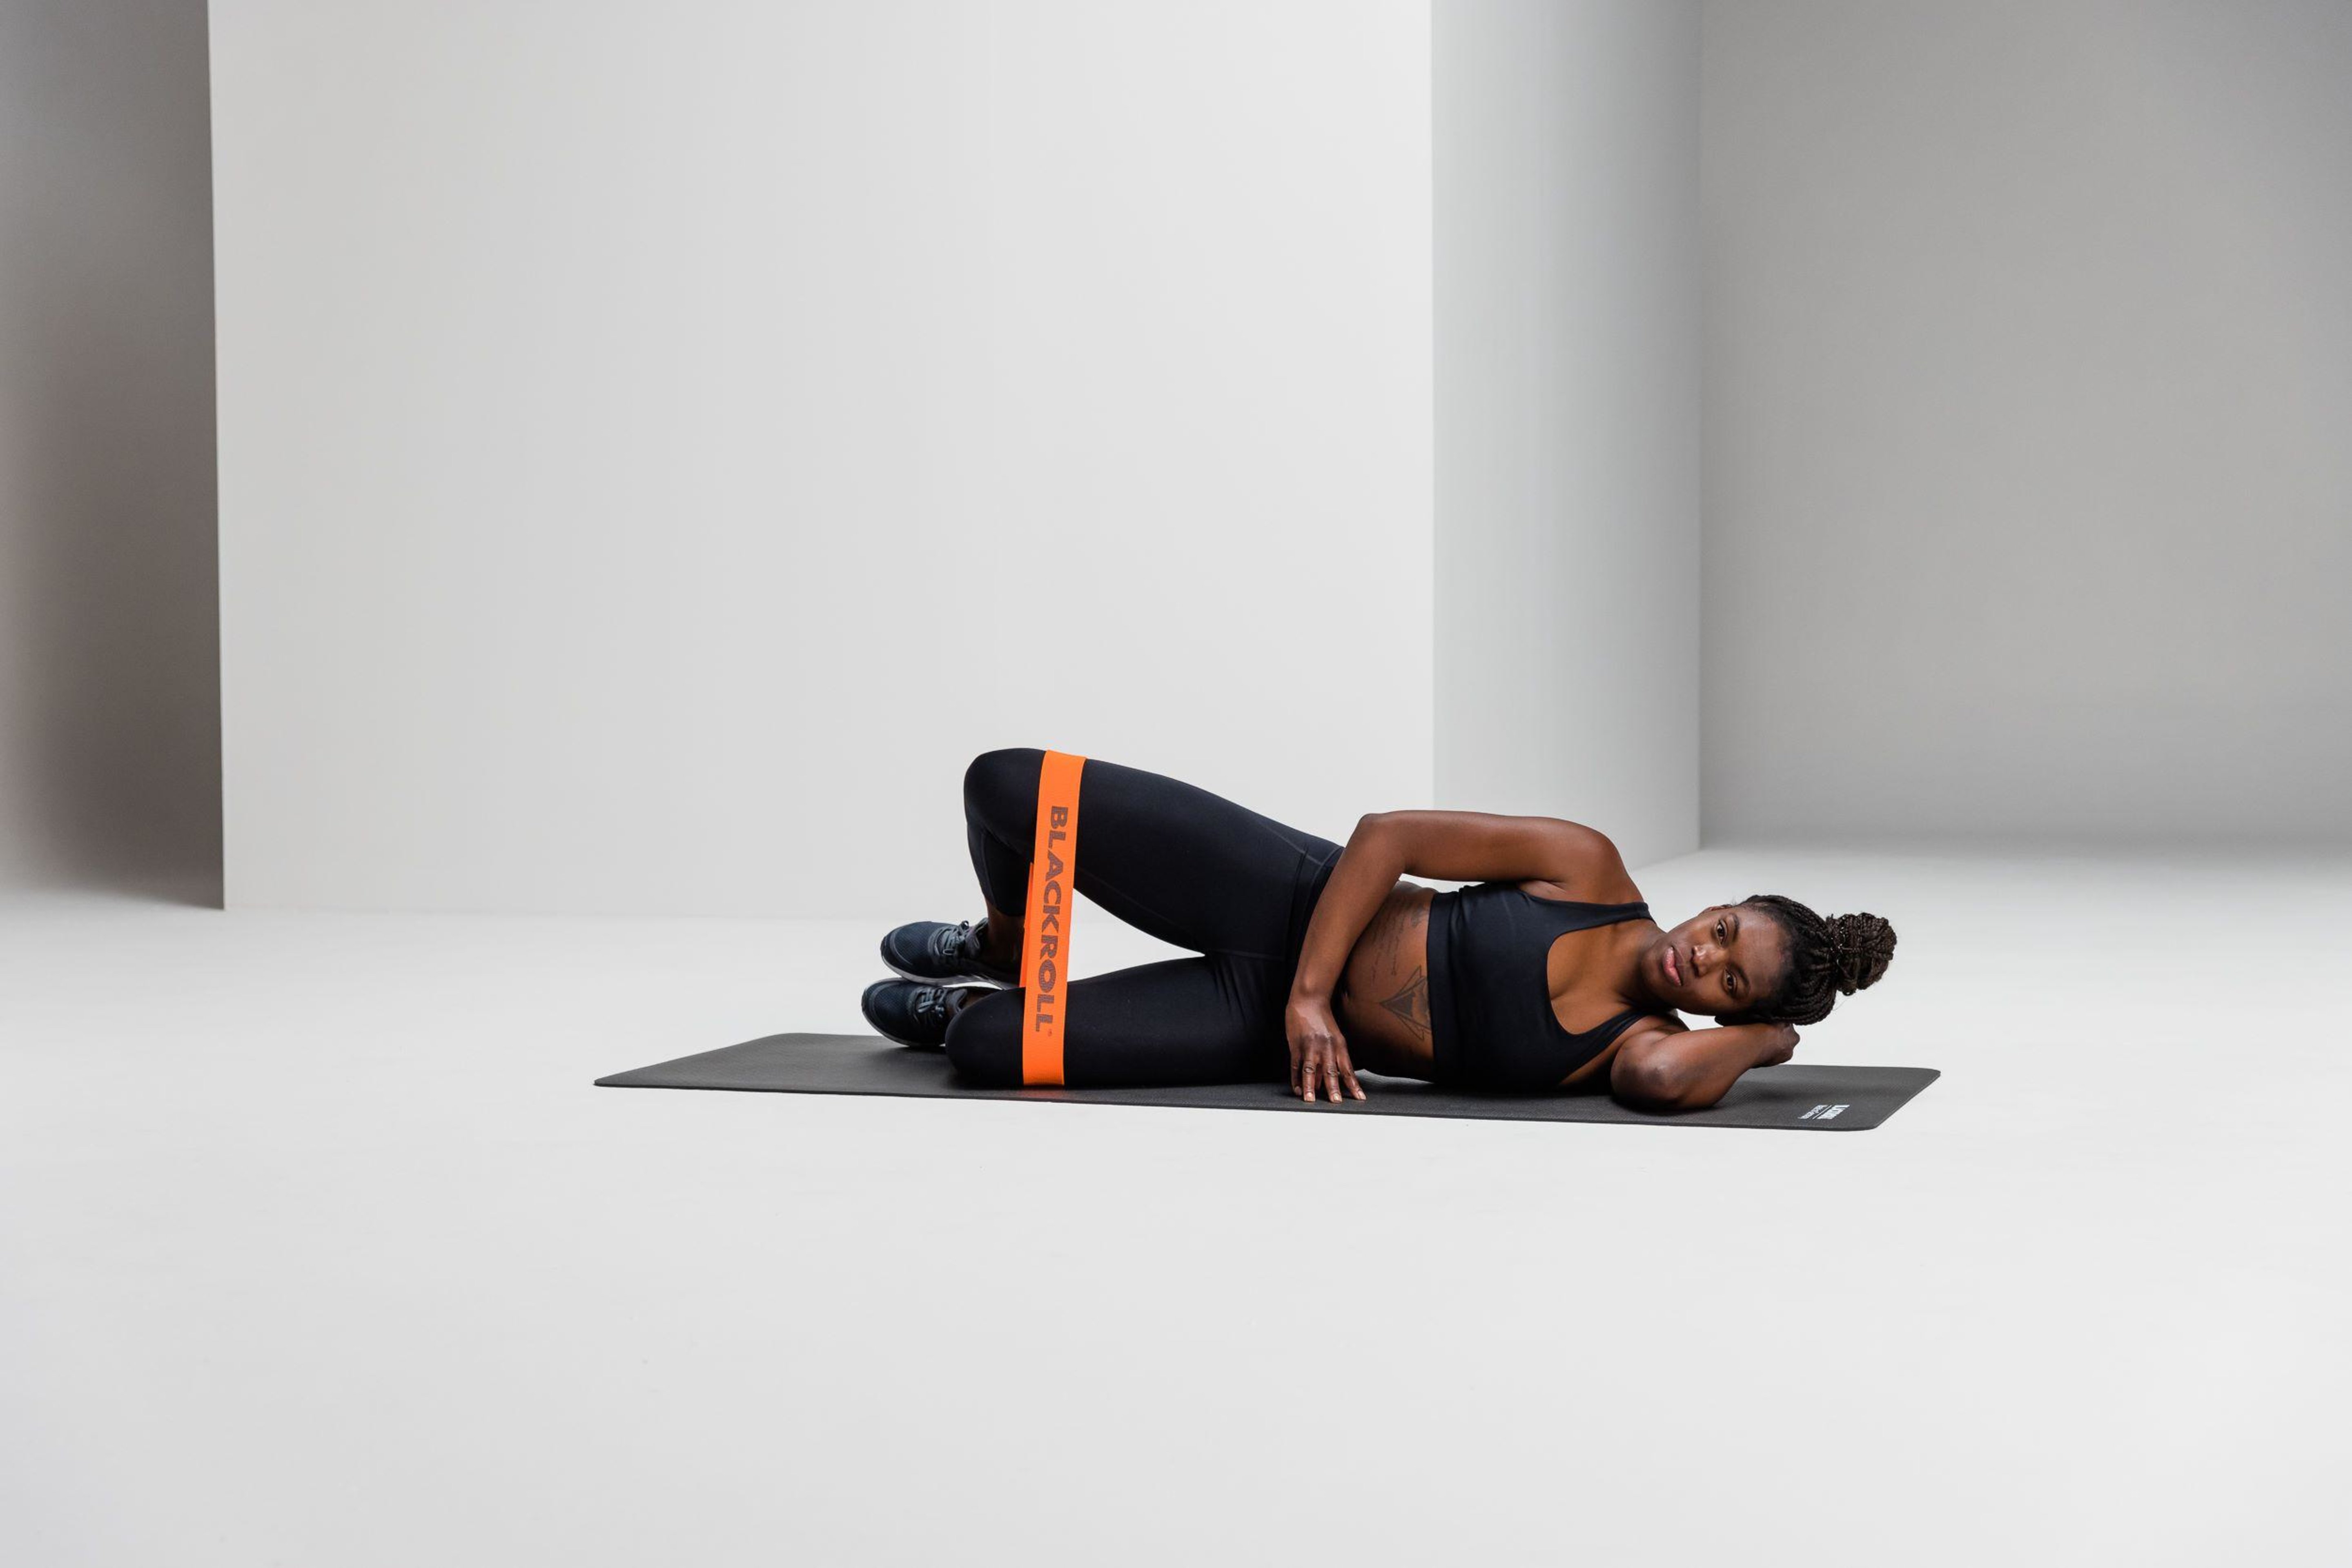
Clamshell
Lie on your side and place the LOOP BAND around your knees. Bend your knees slightly. Lift your top knee upward. Return to the starting position. Keep your feet touching throughout the entire exercise.
You can rest your upper body comfortably on the ground. Make sure you do not rotate your upper body during the exercise.
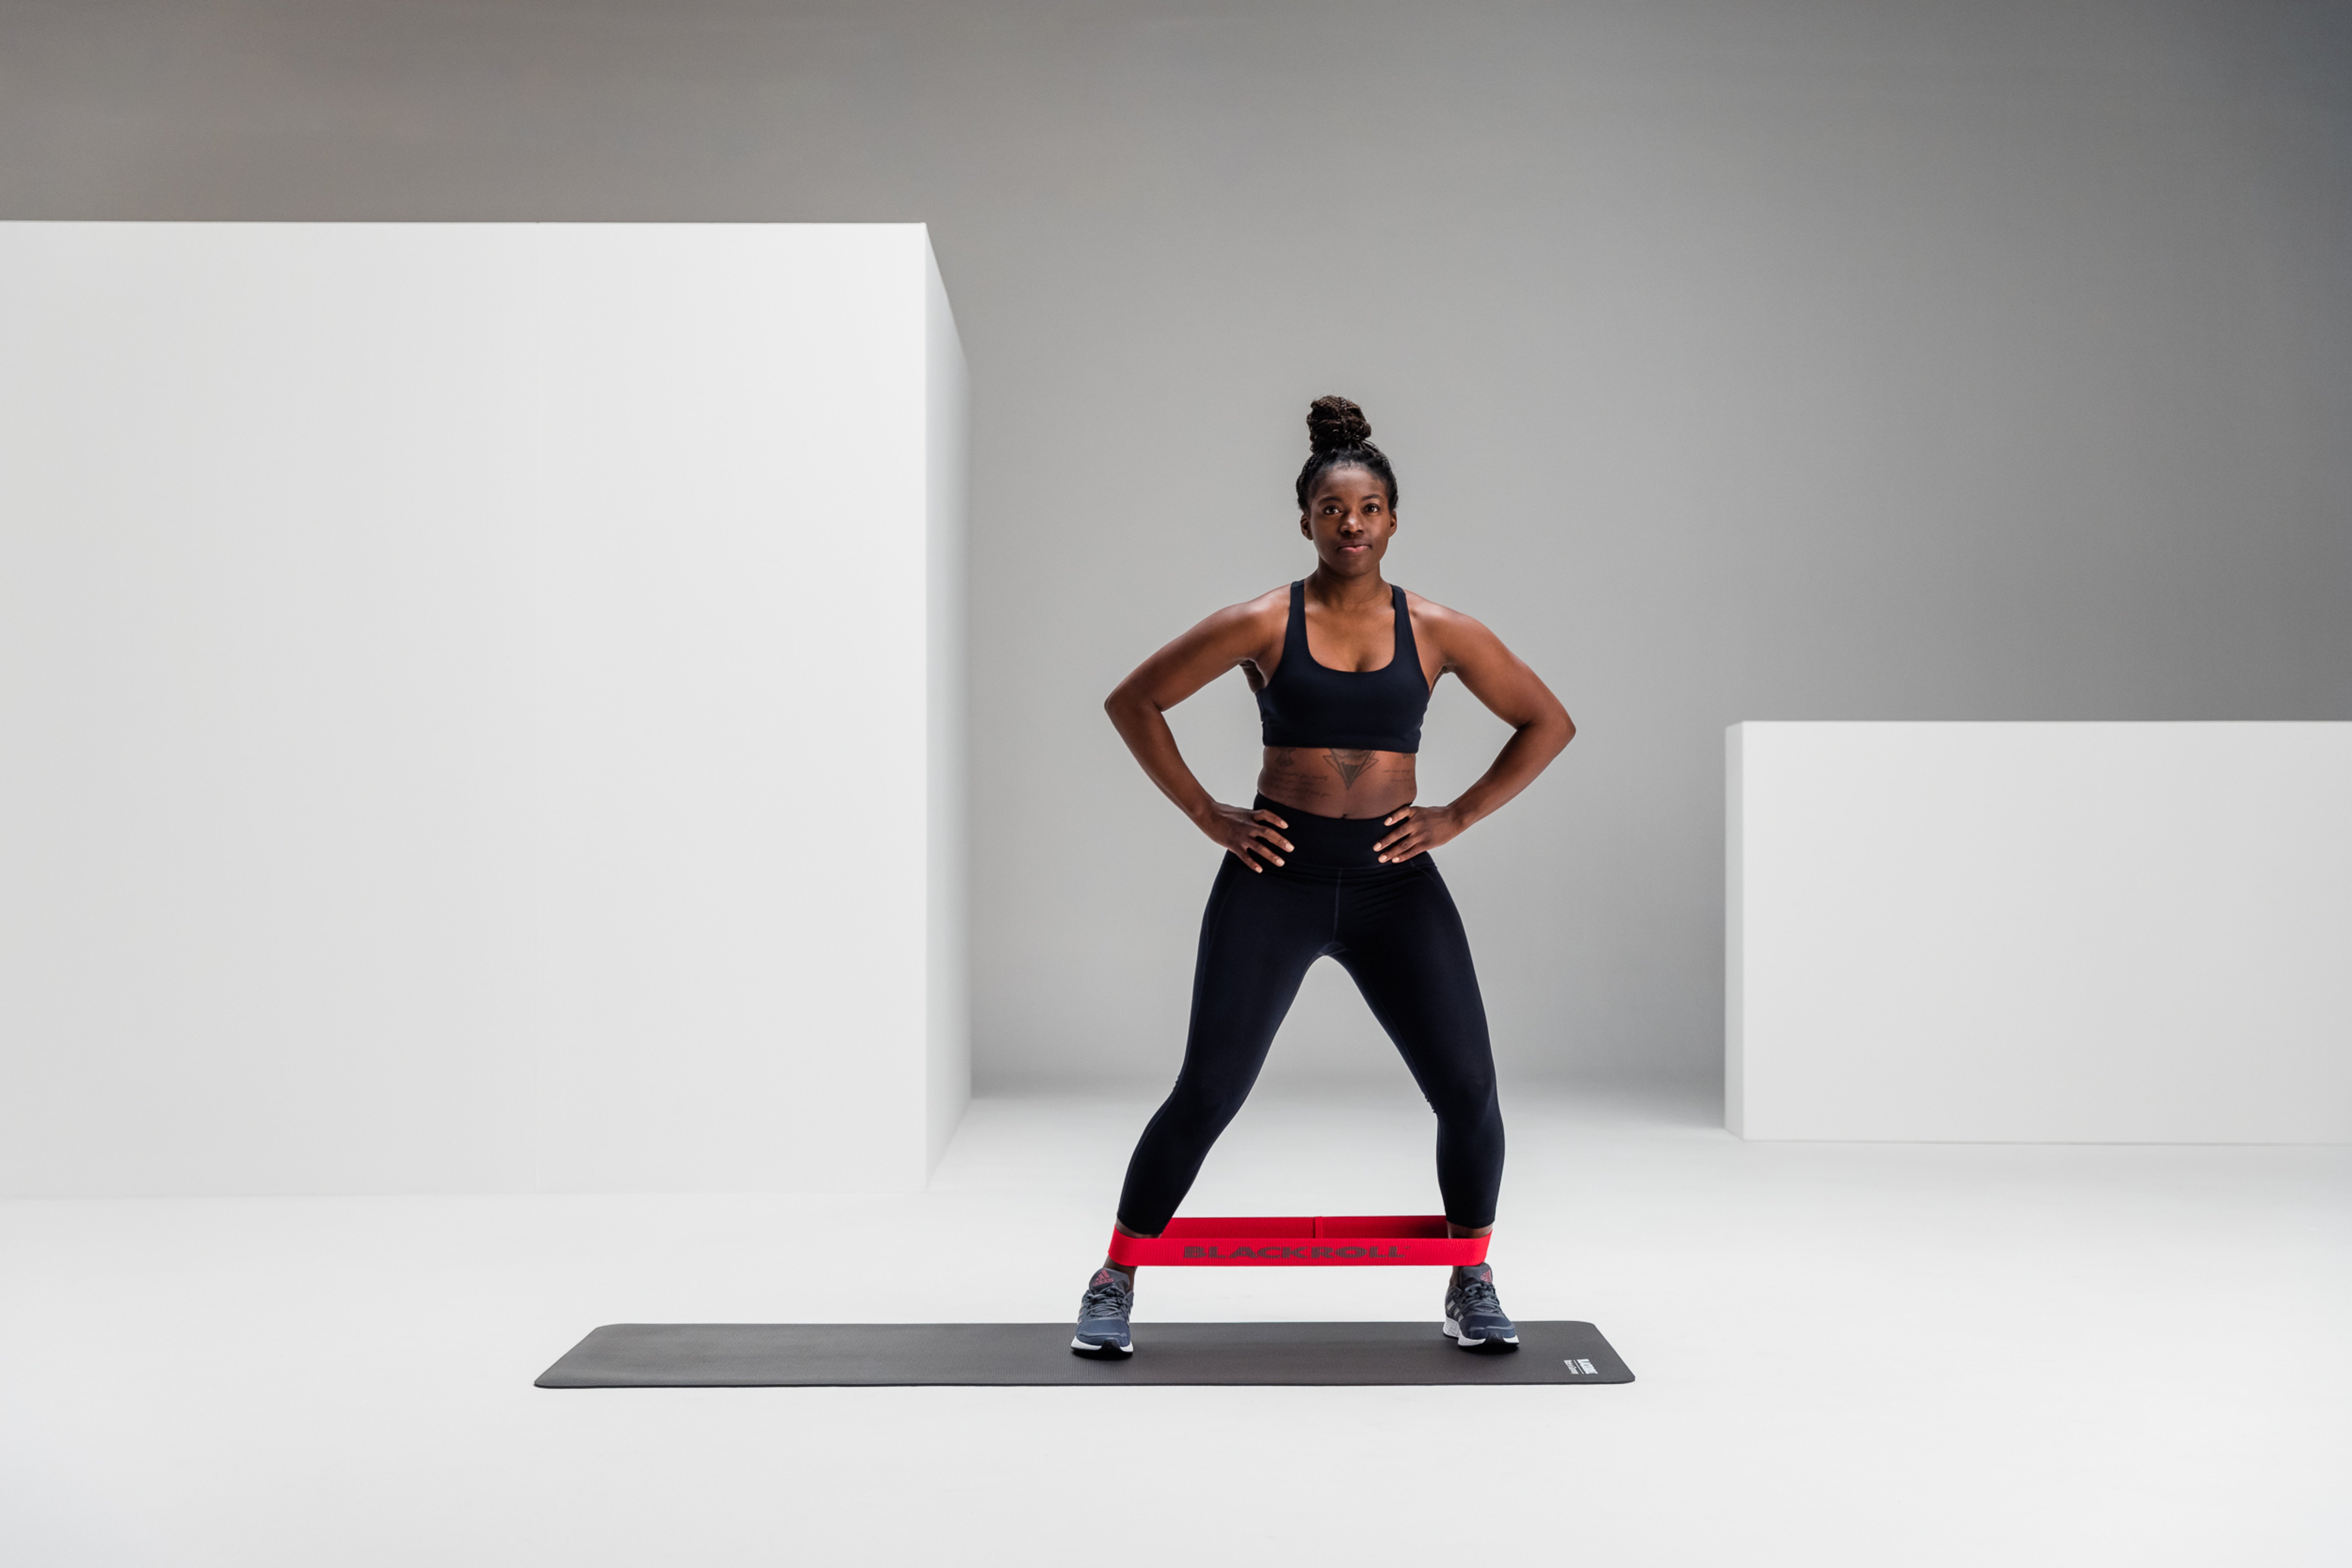
Side Walks
Place the LOOP BAND around your thighs in the standing position, directly above your knees. Bend your knees. Move step by step to the side.
When moving to the side, make sure that the leg you’re moving toward moves first.
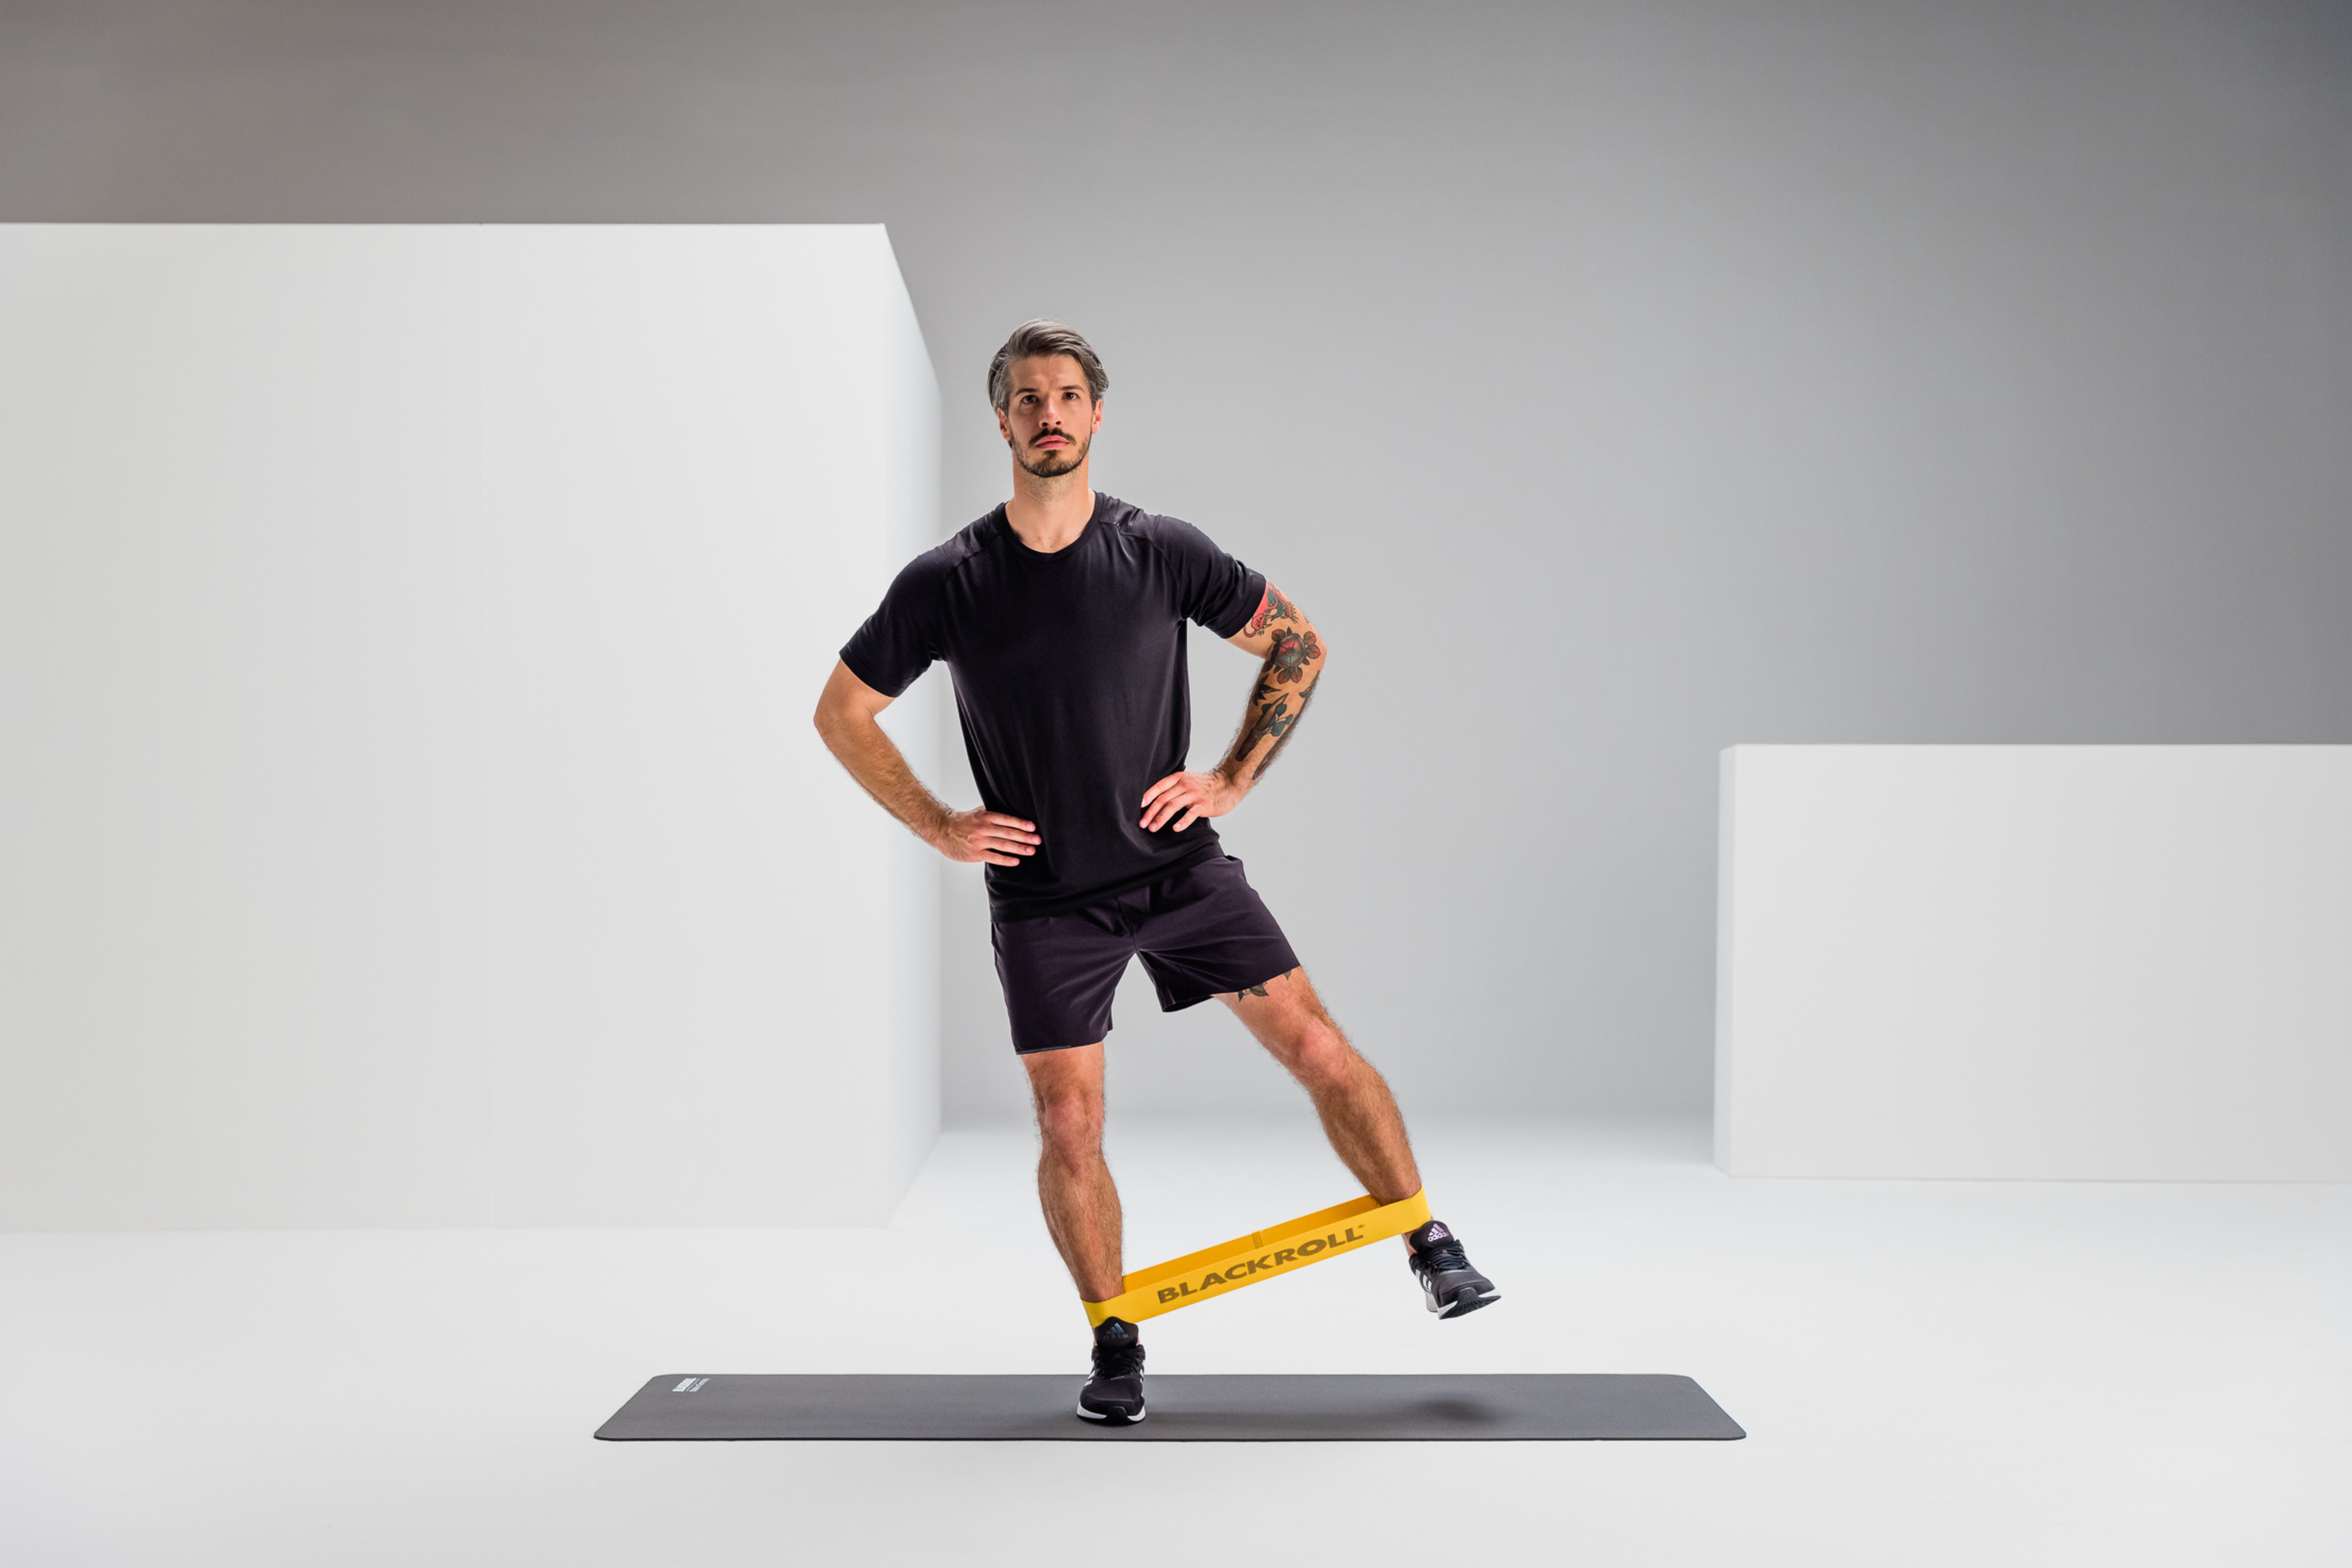
Side Leg Lifts
In a standing position, place the LOOP BAND around your ankles. Lift one foot off the ground. Move your straight leg to the side. Return your leg to the starting position.
Make sure you don’t lean your upper body forward, backward, or to the side while performing this exercise.
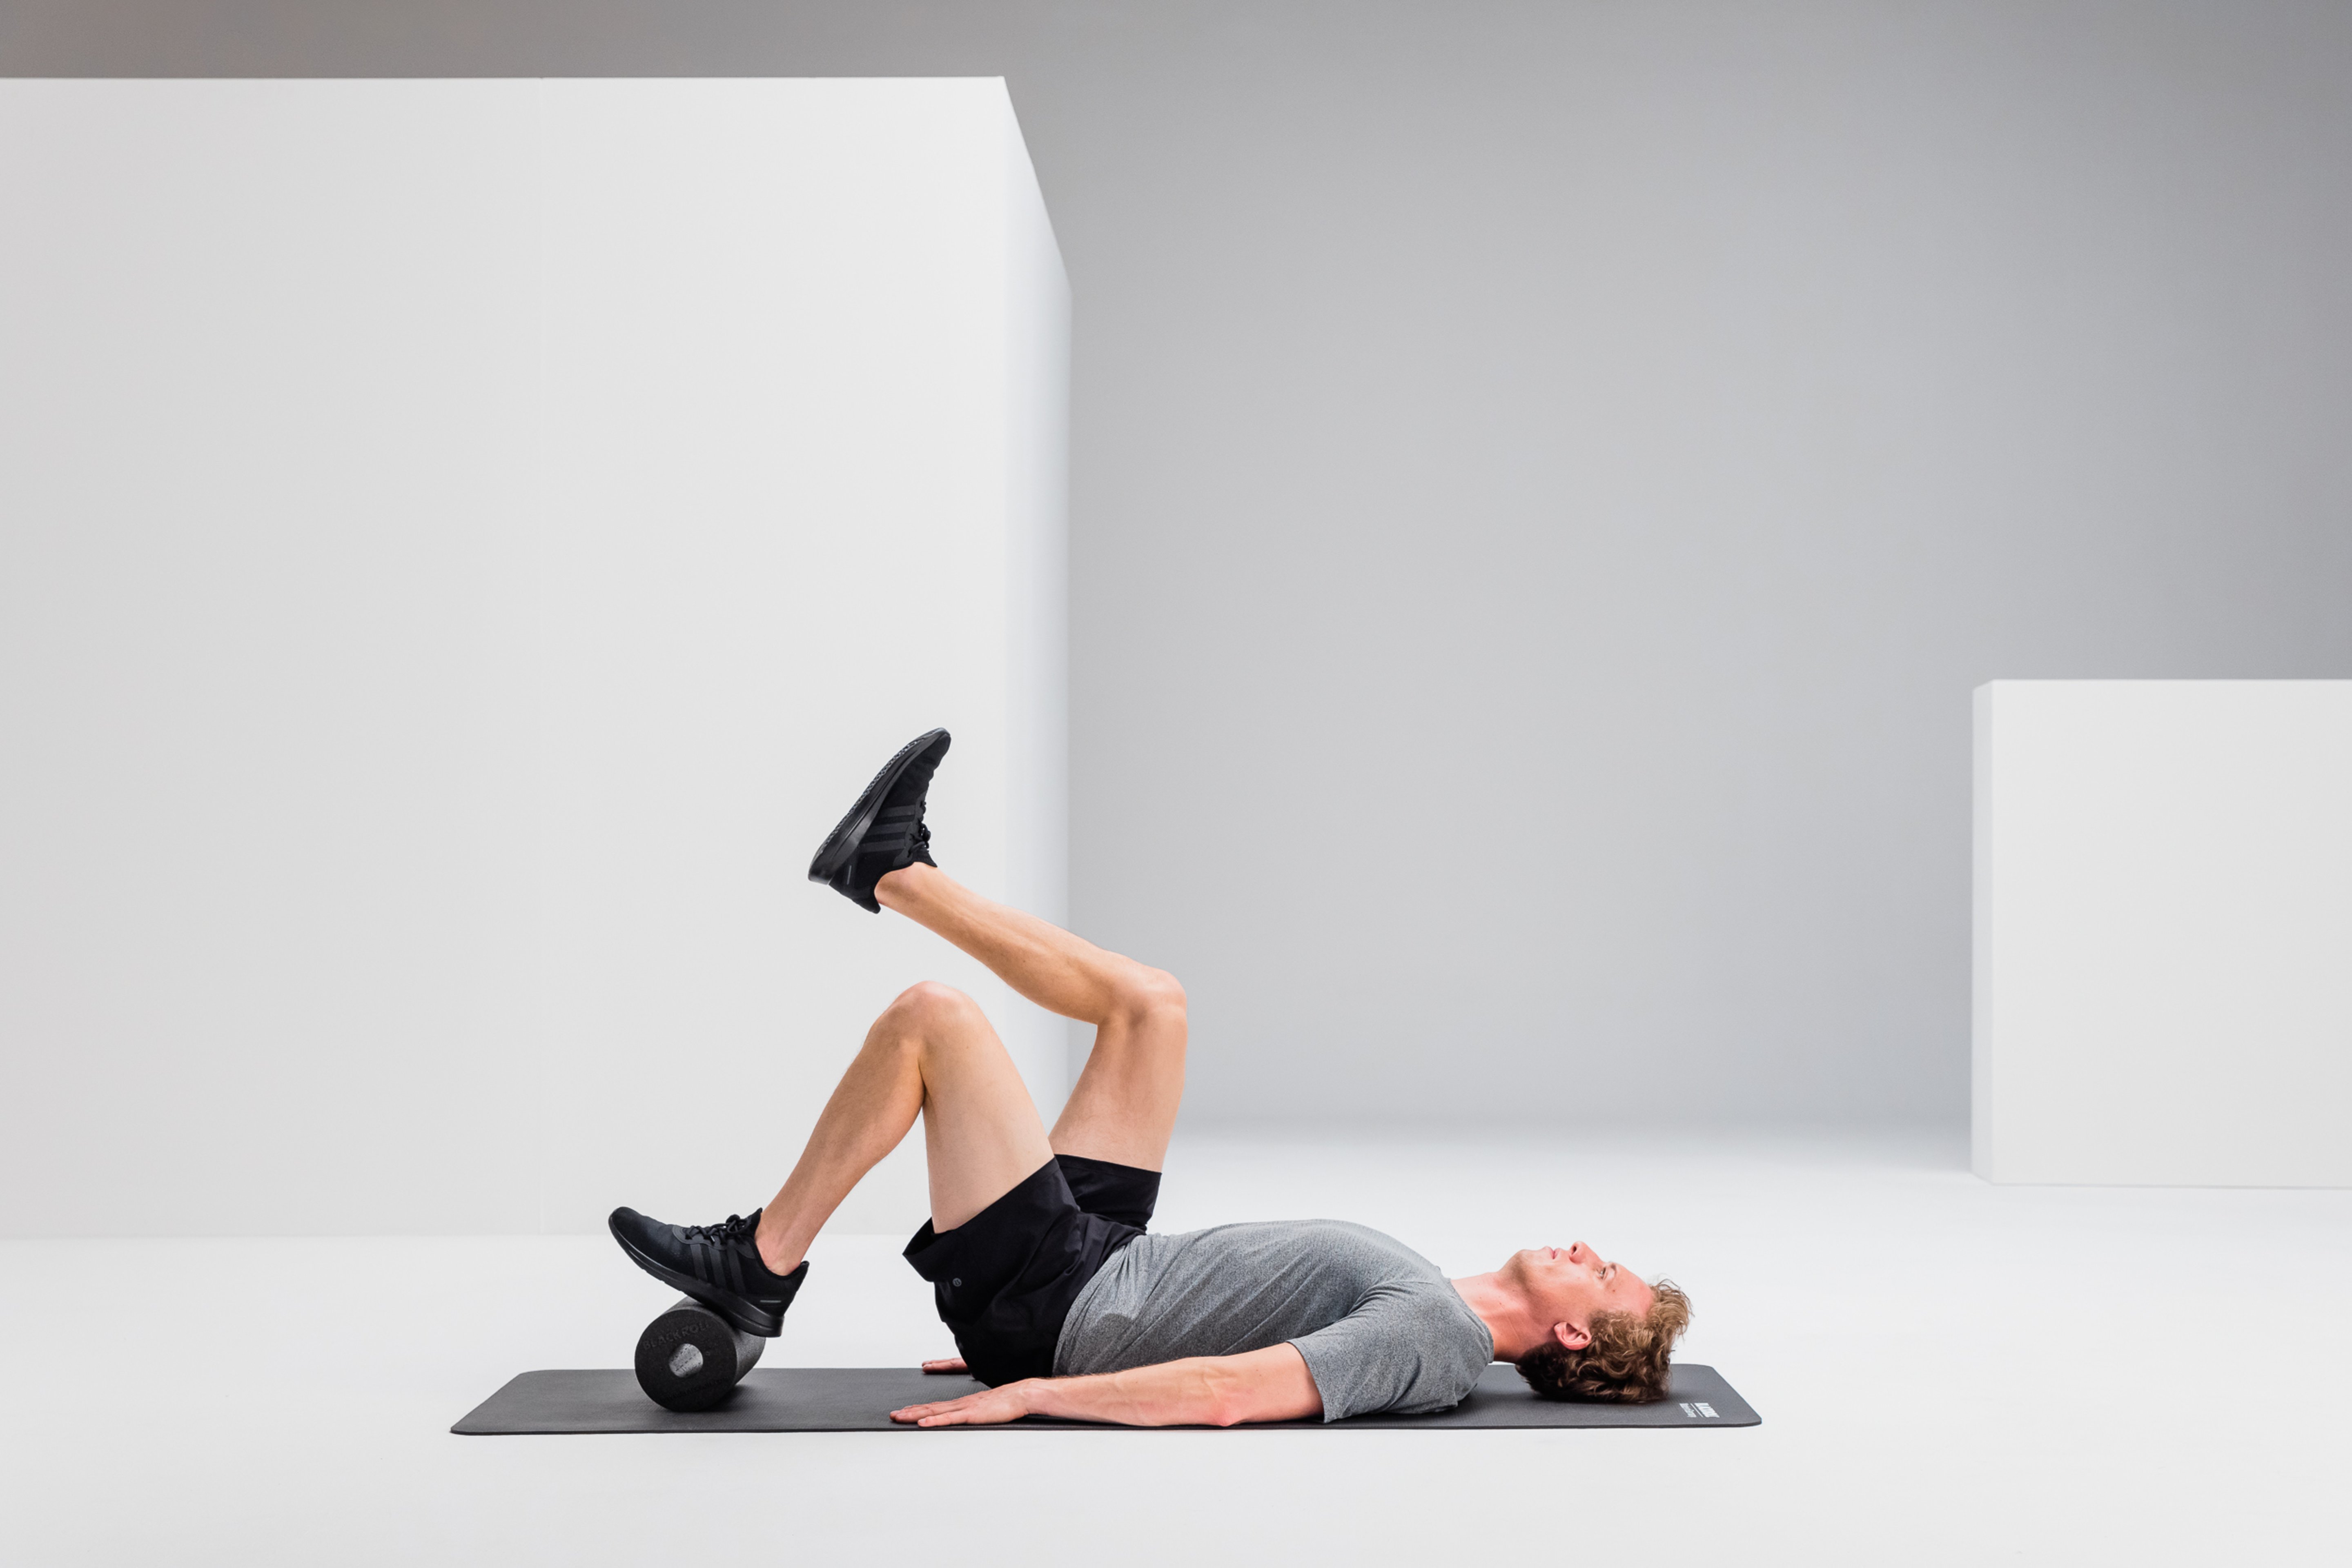
Single-Leg Pelvic Lift
Start by lying on your back with one foot on the FASCIAL ROLLER. Lift the other leg, keeping it bent, and push yourself upward with the foot on the FASCIAL ROLLER. Your thighs and upper body should form a straight line. Return to the starting position.
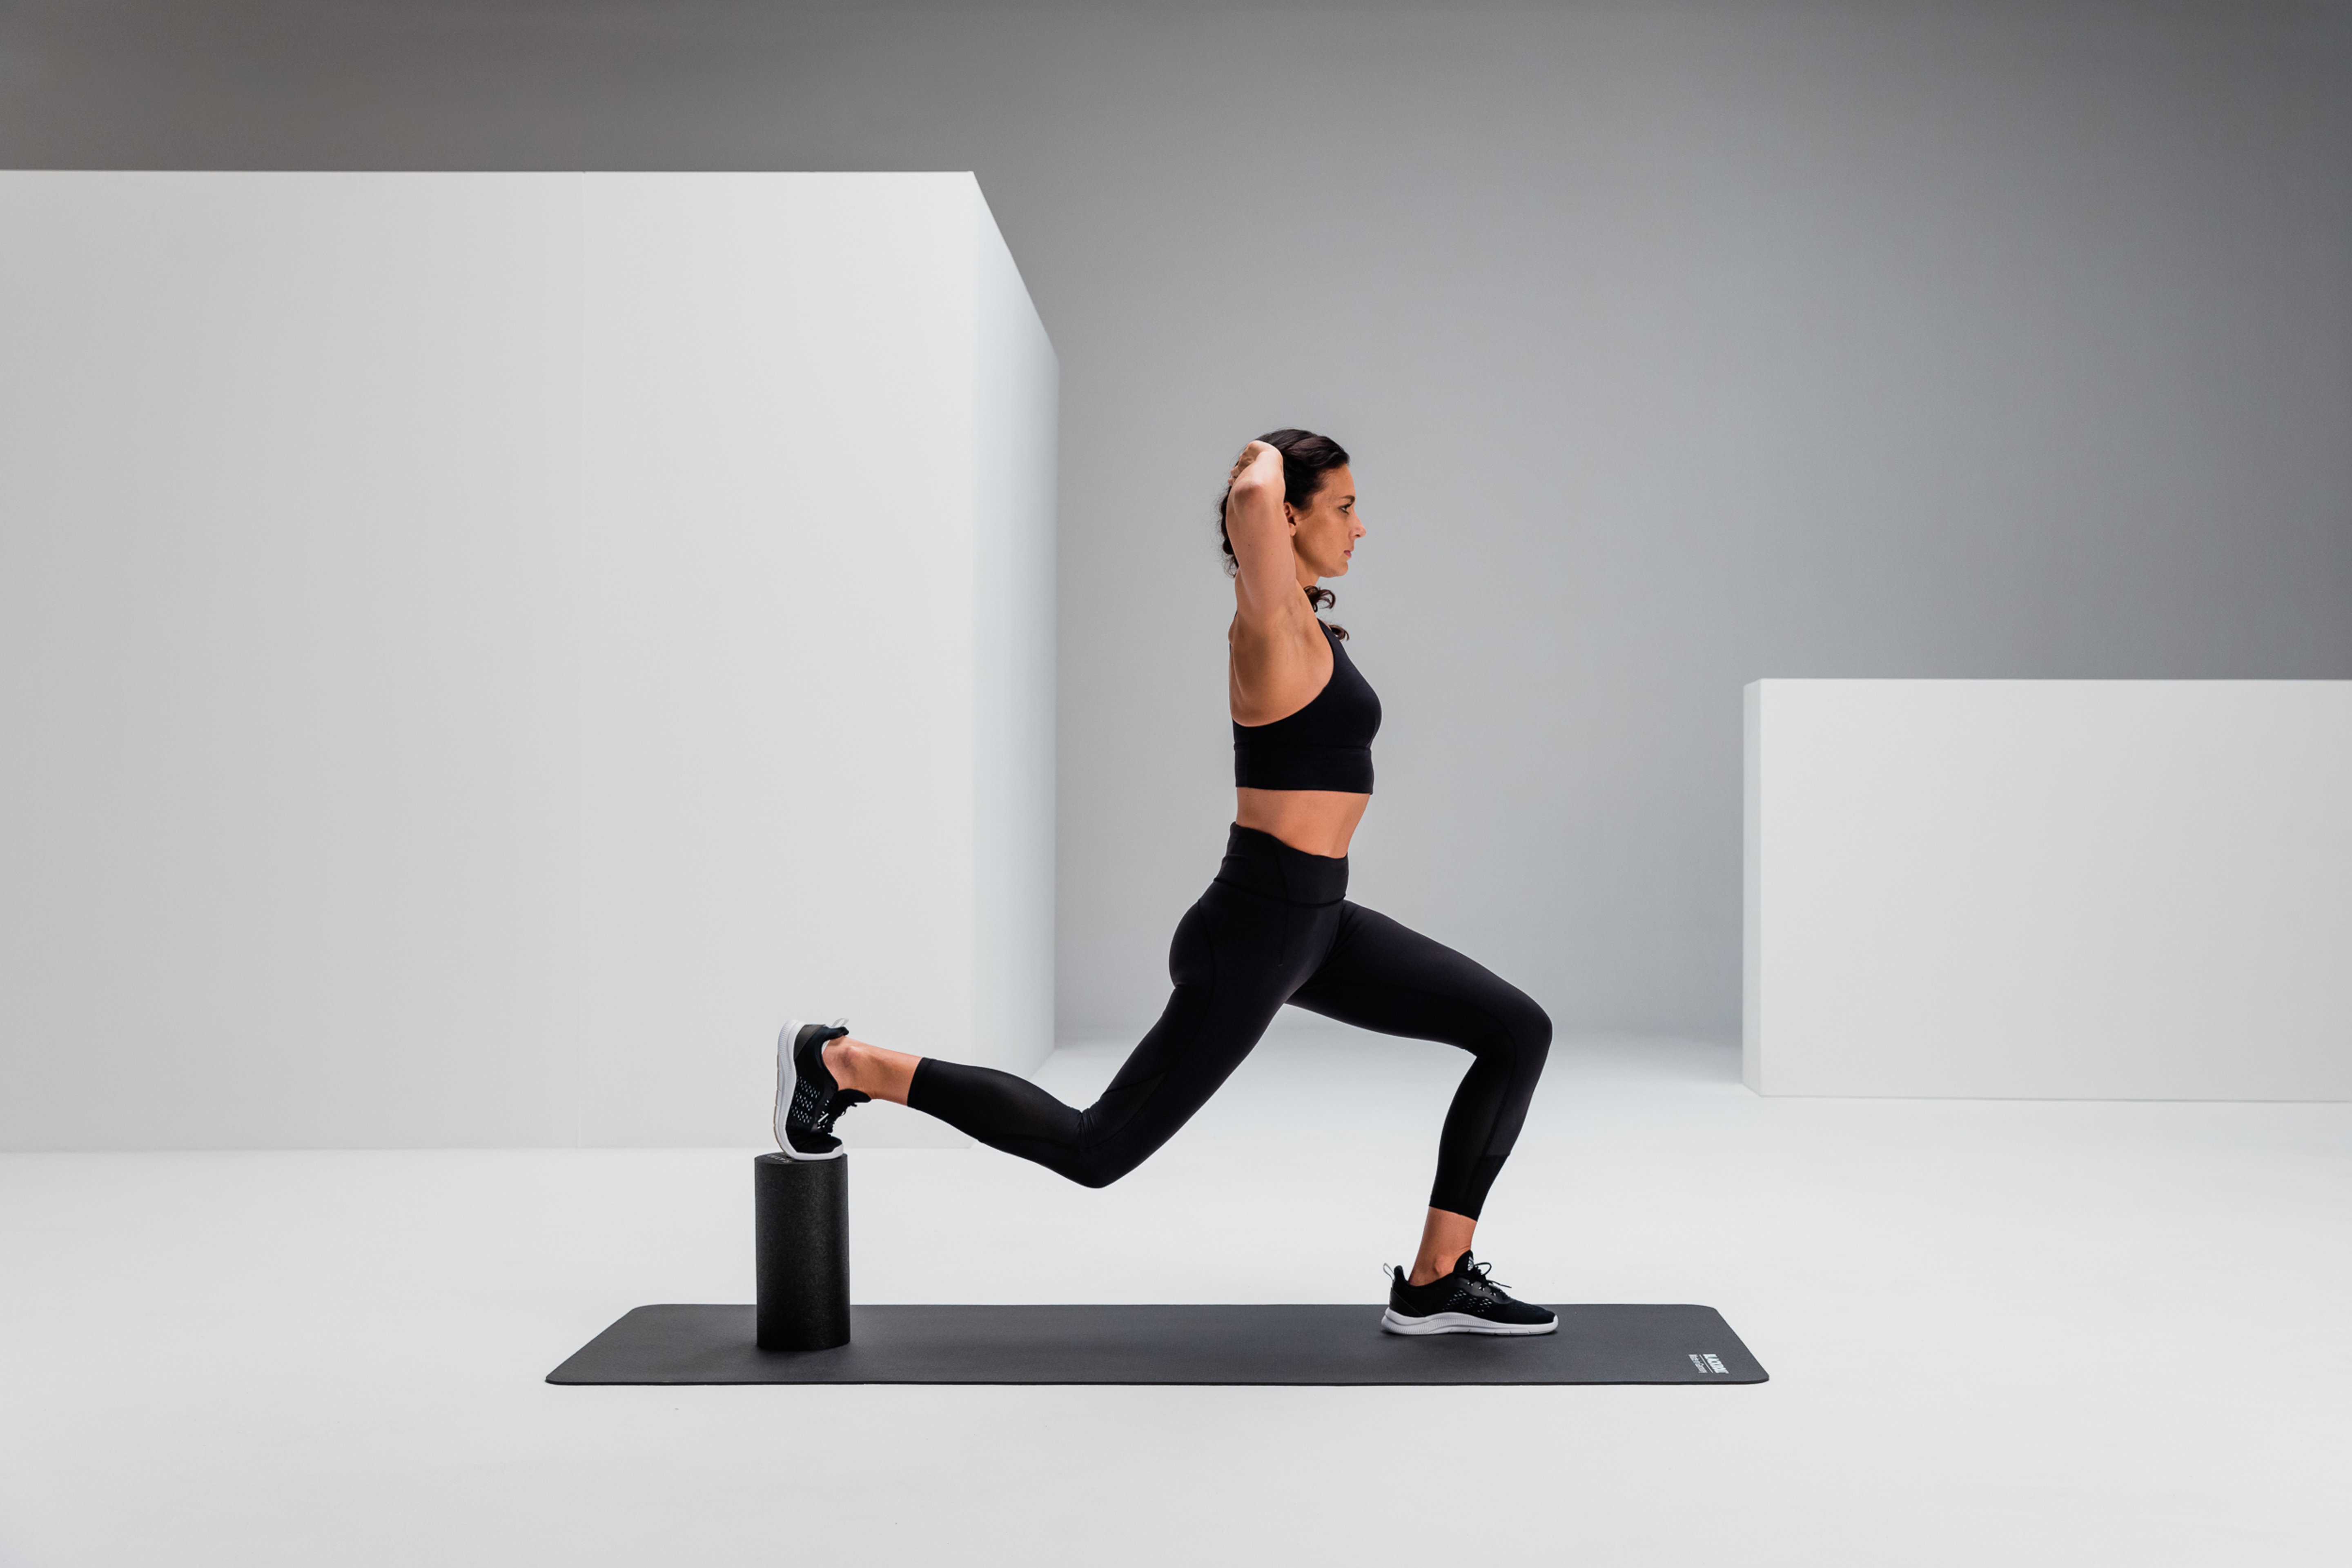
Lunge
Start in a lunge position. Place your back foot on the FASCIAL ROLLER. Keep your upper body upright. Slowly lower your hips toward the floor. Your front knee should form a right angle. Return to the starting position.
Make sure your front knee is directly above your ankle and that your upper body does not lean forward.
B. EXPLOSIVE STRENGTH & RATE OF FORCE DEVELOPMENT (2–3 sets per exercise)
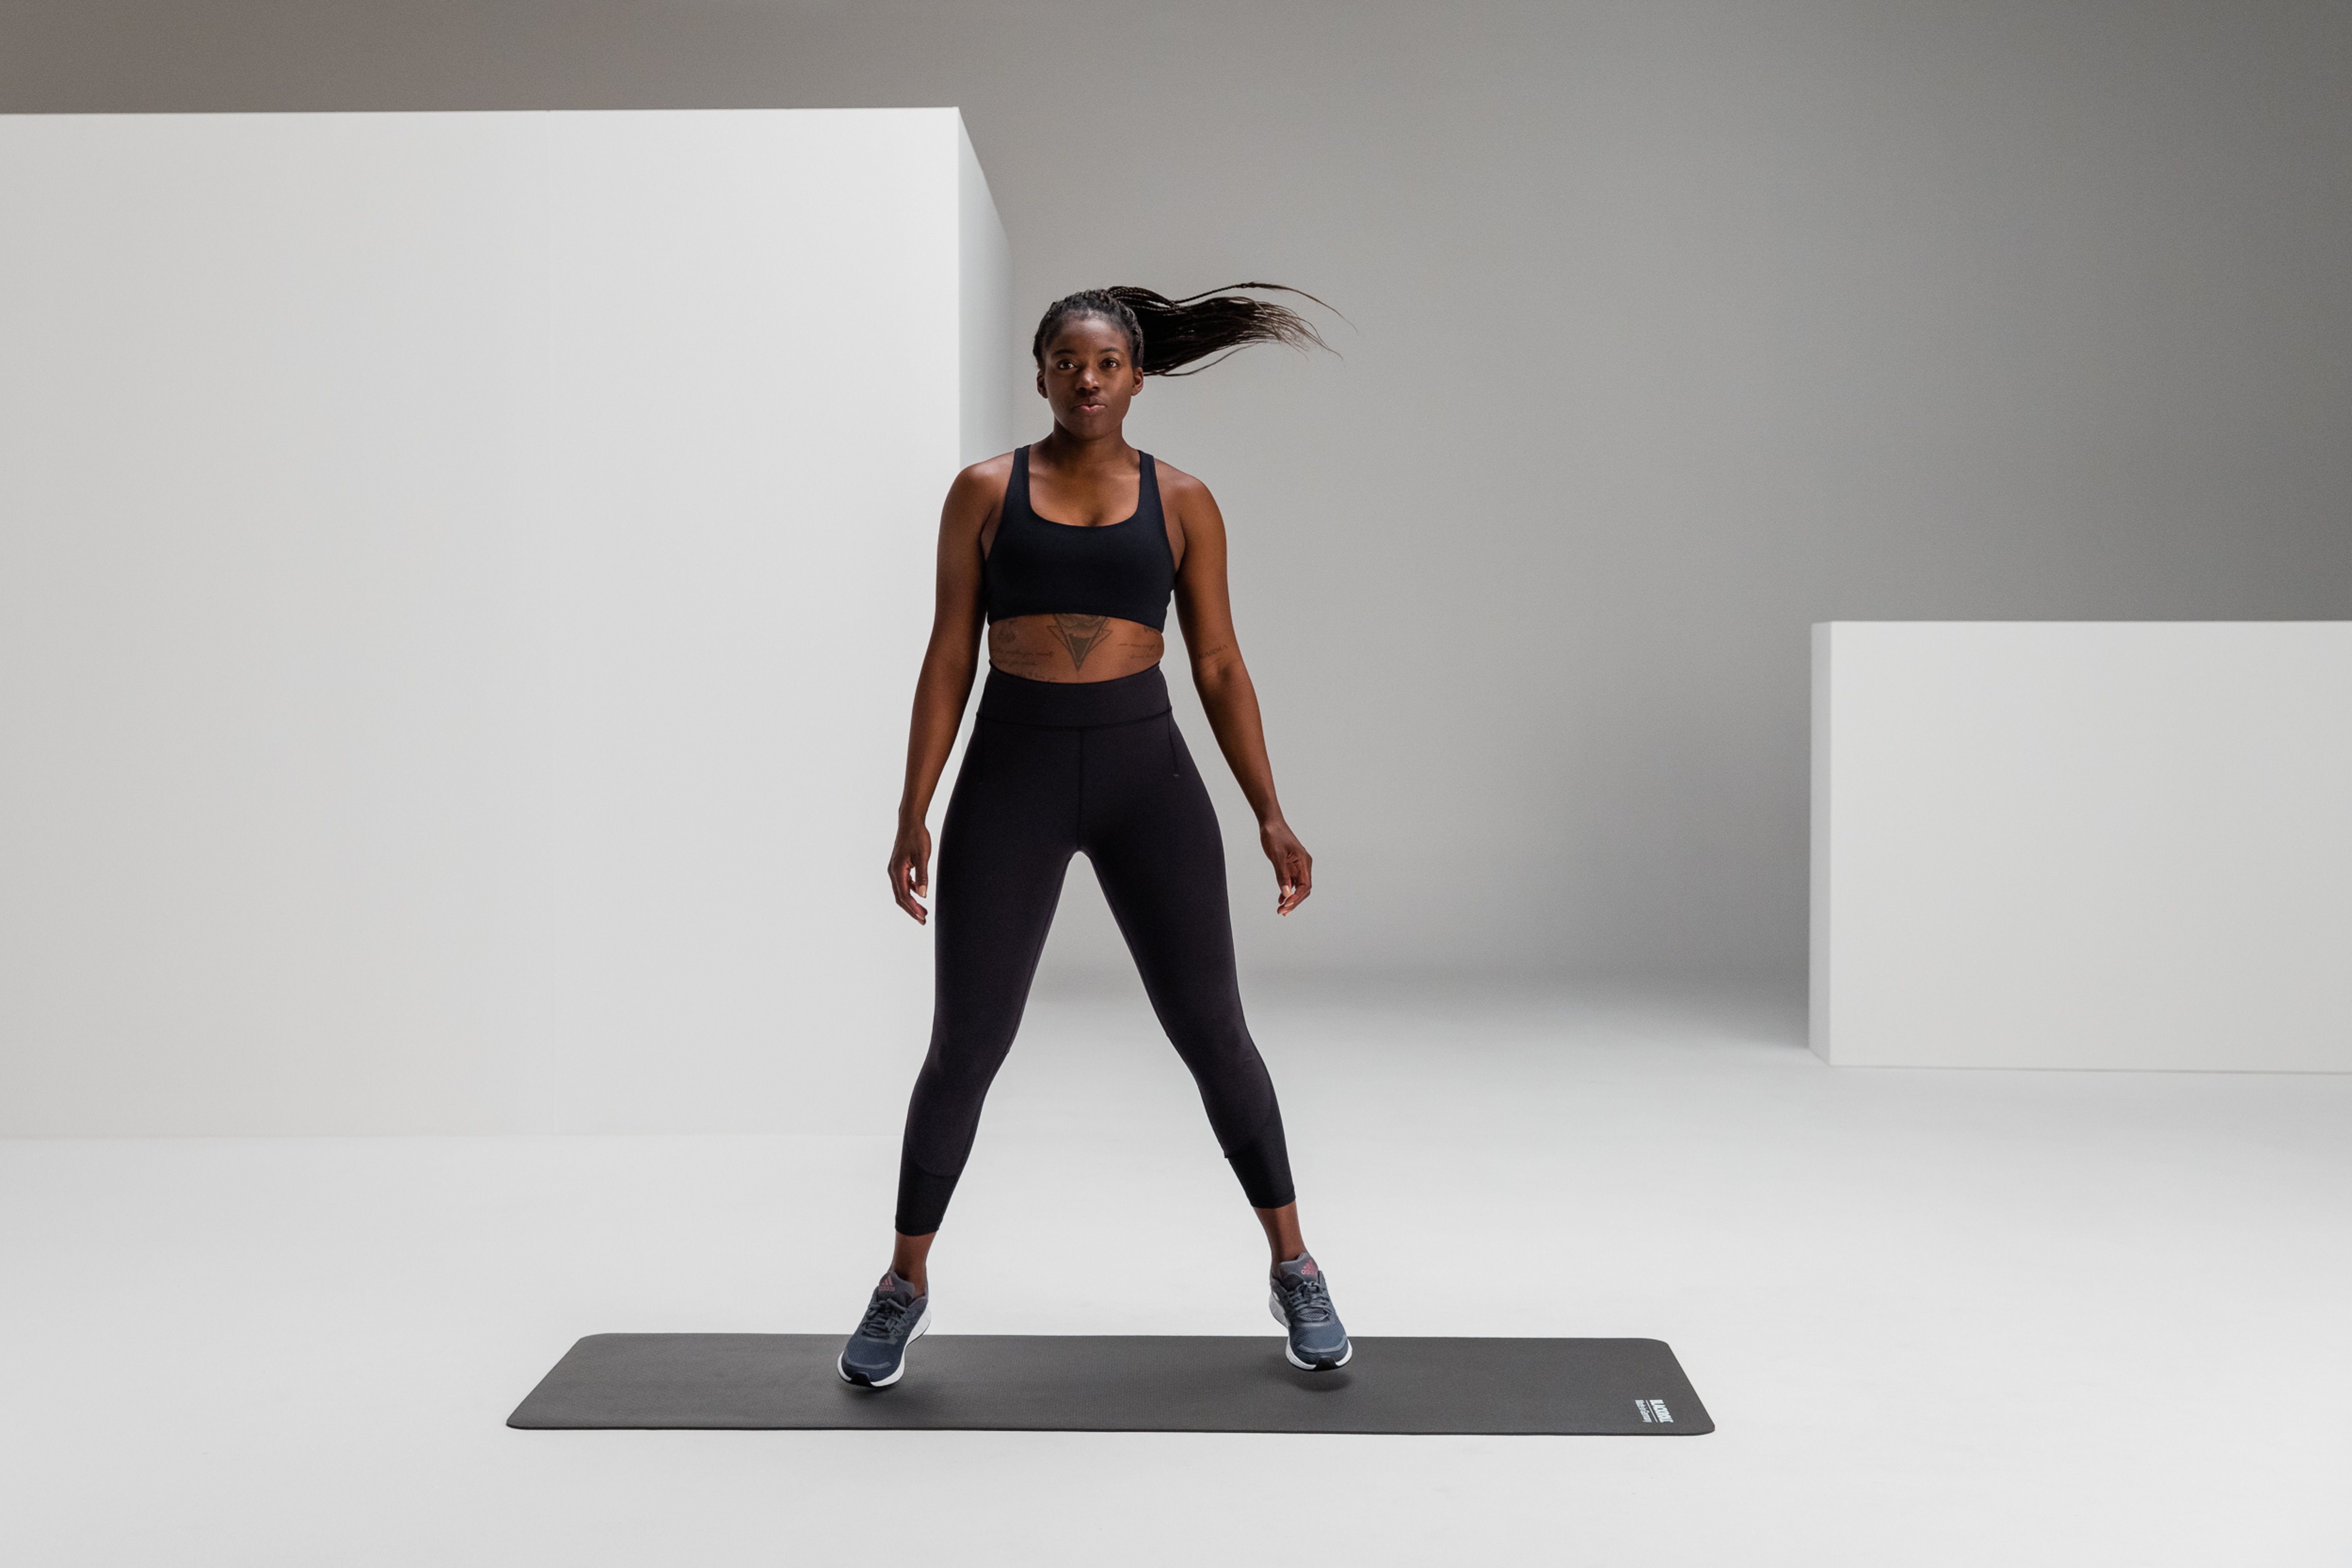
1. Counter Movement Jumps
Goal: To develop speed, explosiveness, and efficient force transmission in the legs.
Execution:
- Starting position: Stand with your feet hip-width apart, upright, looking straight ahead. Keep your arms relaxed at your sides or resting on your hips.
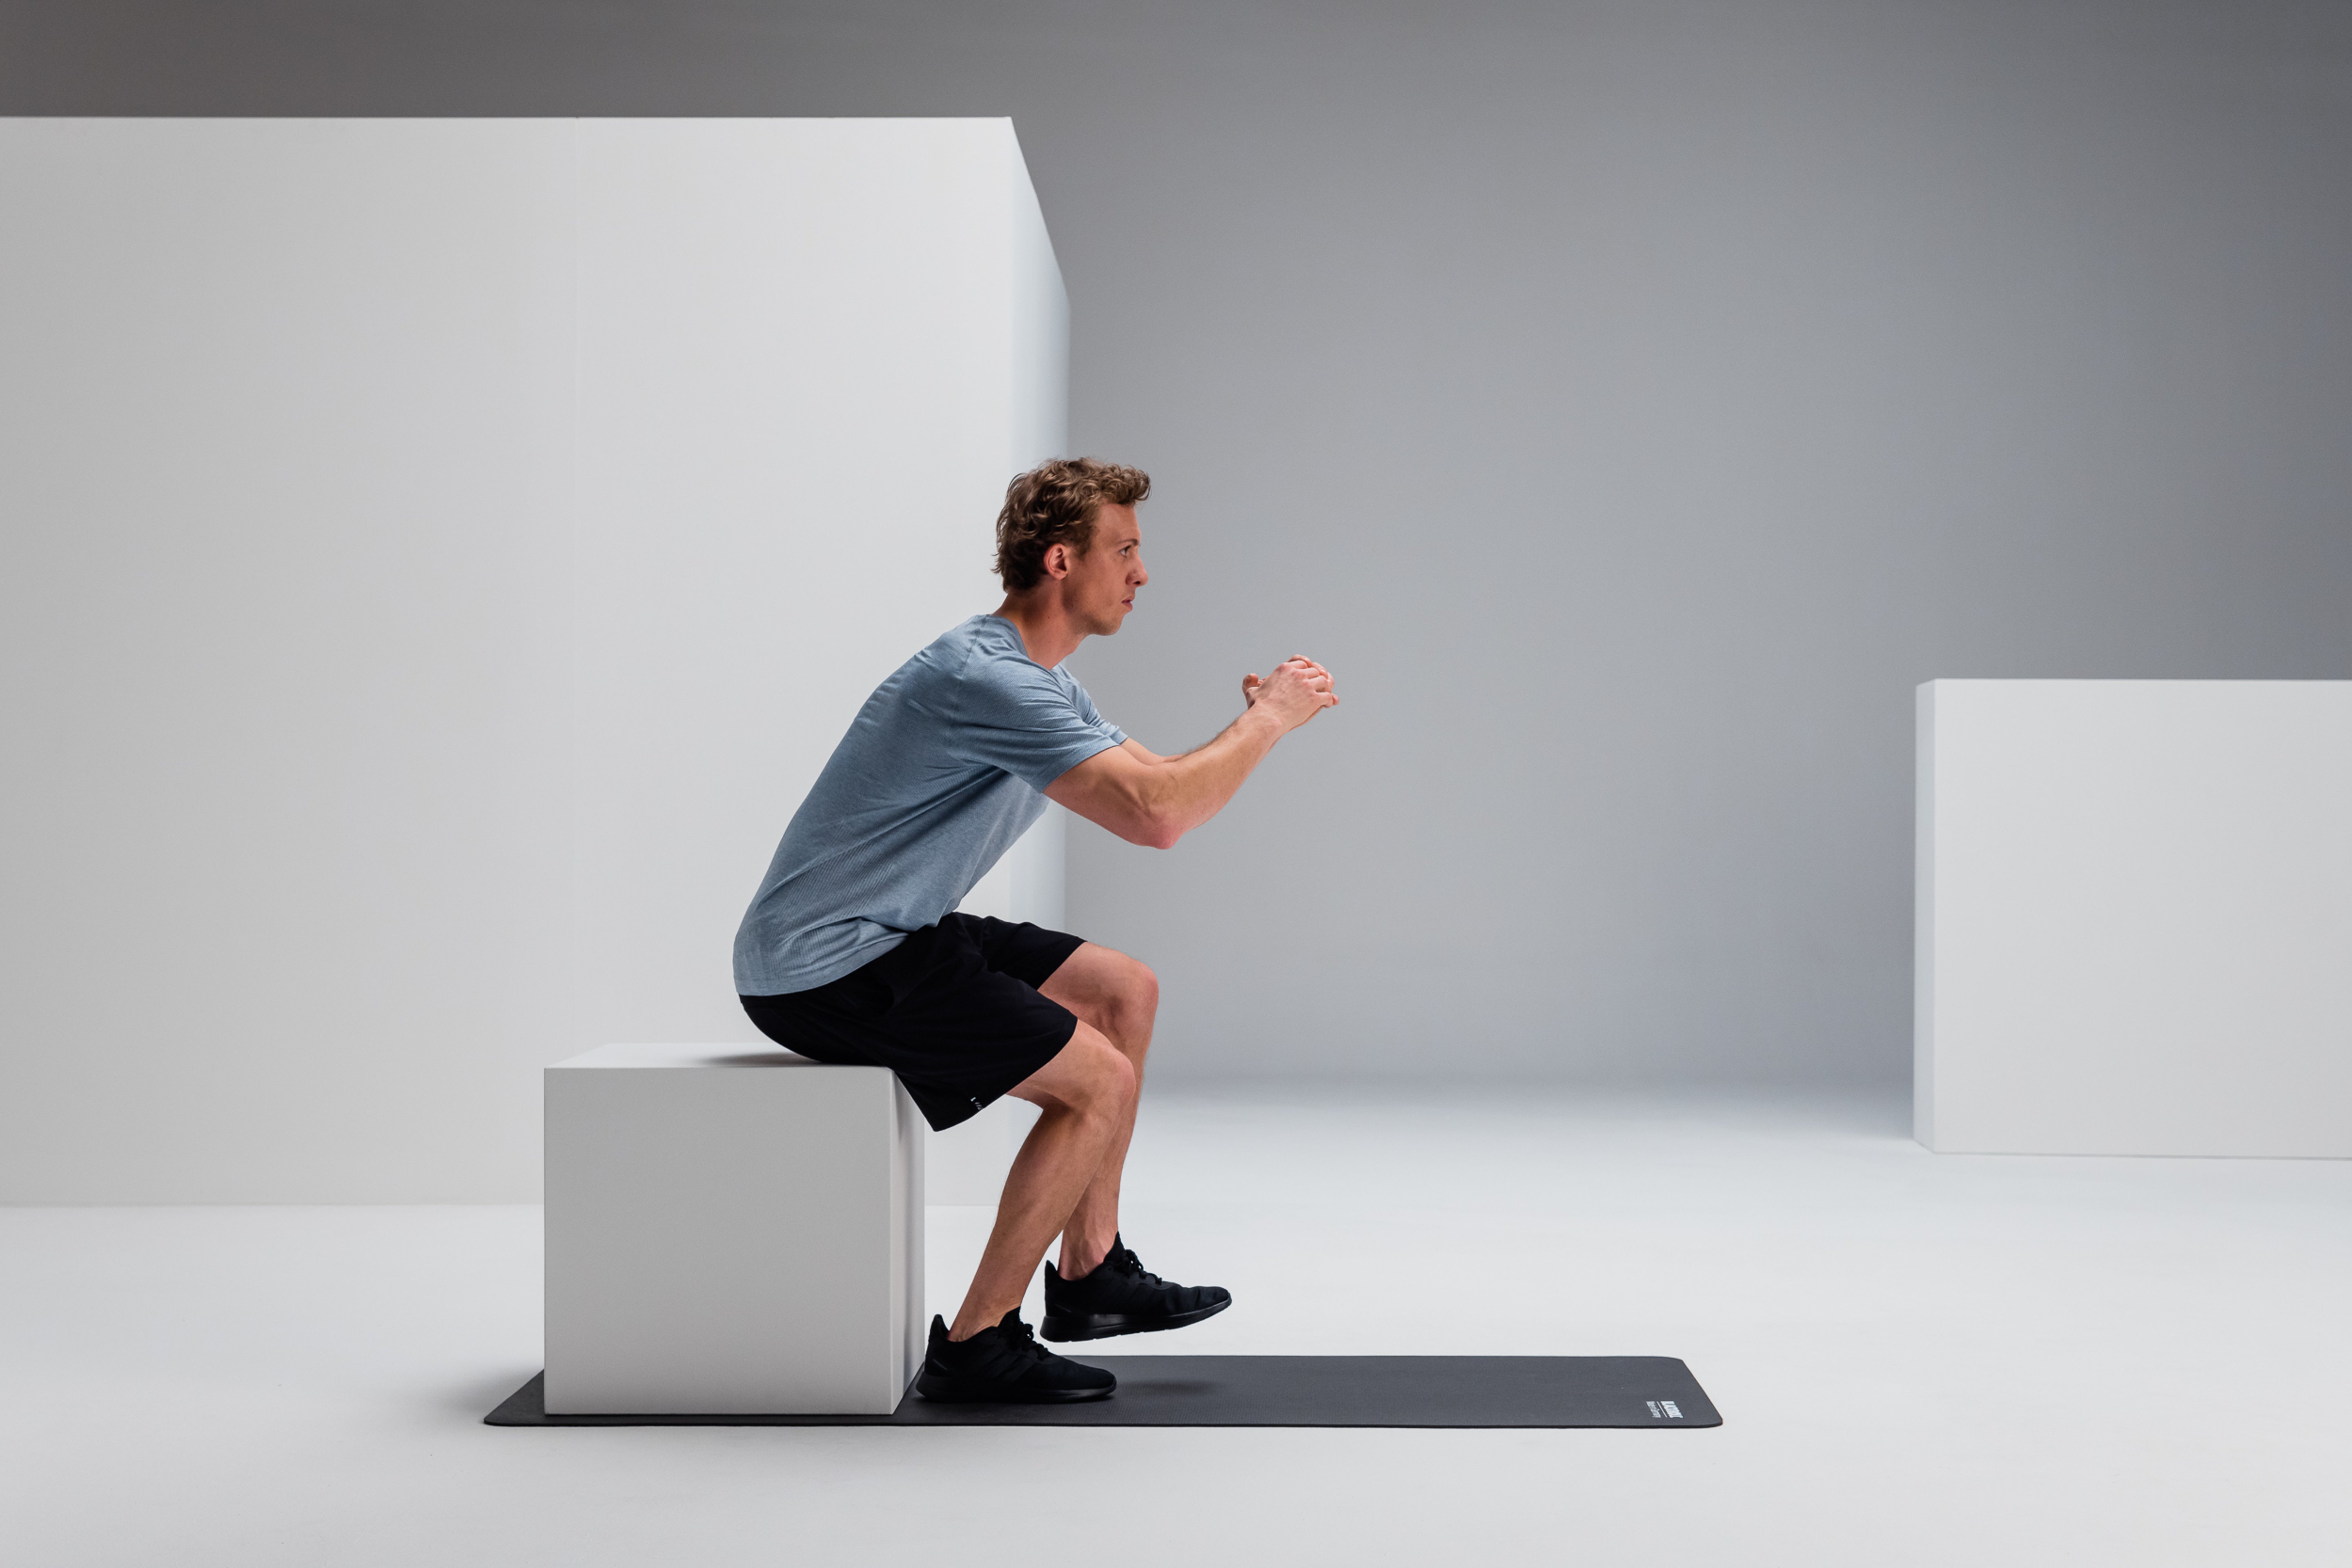
- Initiating the Movement: Quickly lower yourself into a deep squat (thighs at least parallel to the floor).
- Explosive Jump: Without pausing at the lowest point, jump upward as explosively as possible. The flow of the movement comes from the rapid reversal of direction (stretch-shortening cycle).
- Arms: Keep them on your hips to isolate leg strength (no momentum from the arms).
- Landing: Land in a controlled manner in a half squat. Avoid collapsing—keep your knee over your foot and your back stable.
- Stand up straight again before starting the next repetition.
Repetitions: 8–10 jumps, 1–2 sets. Rest between repetitions: approx. 10–15 seconds to maximize jumping power.
Important Notes:
- Keep your core engaged to ensure stability during the landing.
- Maintain proper knee alignment—do not let your knees cave in!
- Perform only if you have good core strength; avoid this exercise if you have knee problems.
Effect: This exercise trains the explosive power and speed of the thigh muscles, particularly the quadriceps, glutes, and calves. The so-called stretch-shortening cycle is optimized by the rapid reversal movement—ideal for sprinting, jumping, and changes of direction in sports.
2. Seated Leg Extension with Band
Goal: To strengthen the vastus medialis (inner thigh muscle) to stabilize and protect the knee joint.
Setup:
- Equipment: Resistance band (e.g., our LOOP BAND).
- Sit on a sturdy chair (no wheelchairs, no soft surfaces).
- Wrap the band around the ankle of the working leg and secure it to the chair leg or a fixed object in front of you.
Execution:
- Sit upright with your back straight, your pelvis in a neutral position, and both feet flat on the floor.
- The working leg is positioned slightly behind you, and the band is already slightly taut.
- Now explosively extend your leg forward —make sure to fully extend your knee without hyperextending the joint.
- Hold the end position for about 1–2 seconds to consciously control the tension.
- Slowly return the leg to the starting position—in a controlled manner against the resistance of the band.
Repetitions: 8–10 per leg, 1–3 sets.
Rest: 30–45 seconds between sides or sets.
Important notes:
- Keep your knee stable throughout the entire exercise—no side-to-side movements.
- Keep your upper body still; avoid rocking back and forth.
- Choose the band’s resistance so that the last few repetitions are challenging but can still be performed with proper form.
Effect: This isolated strengthening exercise specifically targets the vastus medialis obliquus (VMO)—a key muscle for knee stabilization, particularly in cases of instability, pain, or during rehabilitation following knee injuries.
C. CORE STABILITY, ROTATION & HQ RATIO (2–3 sets per exercise)
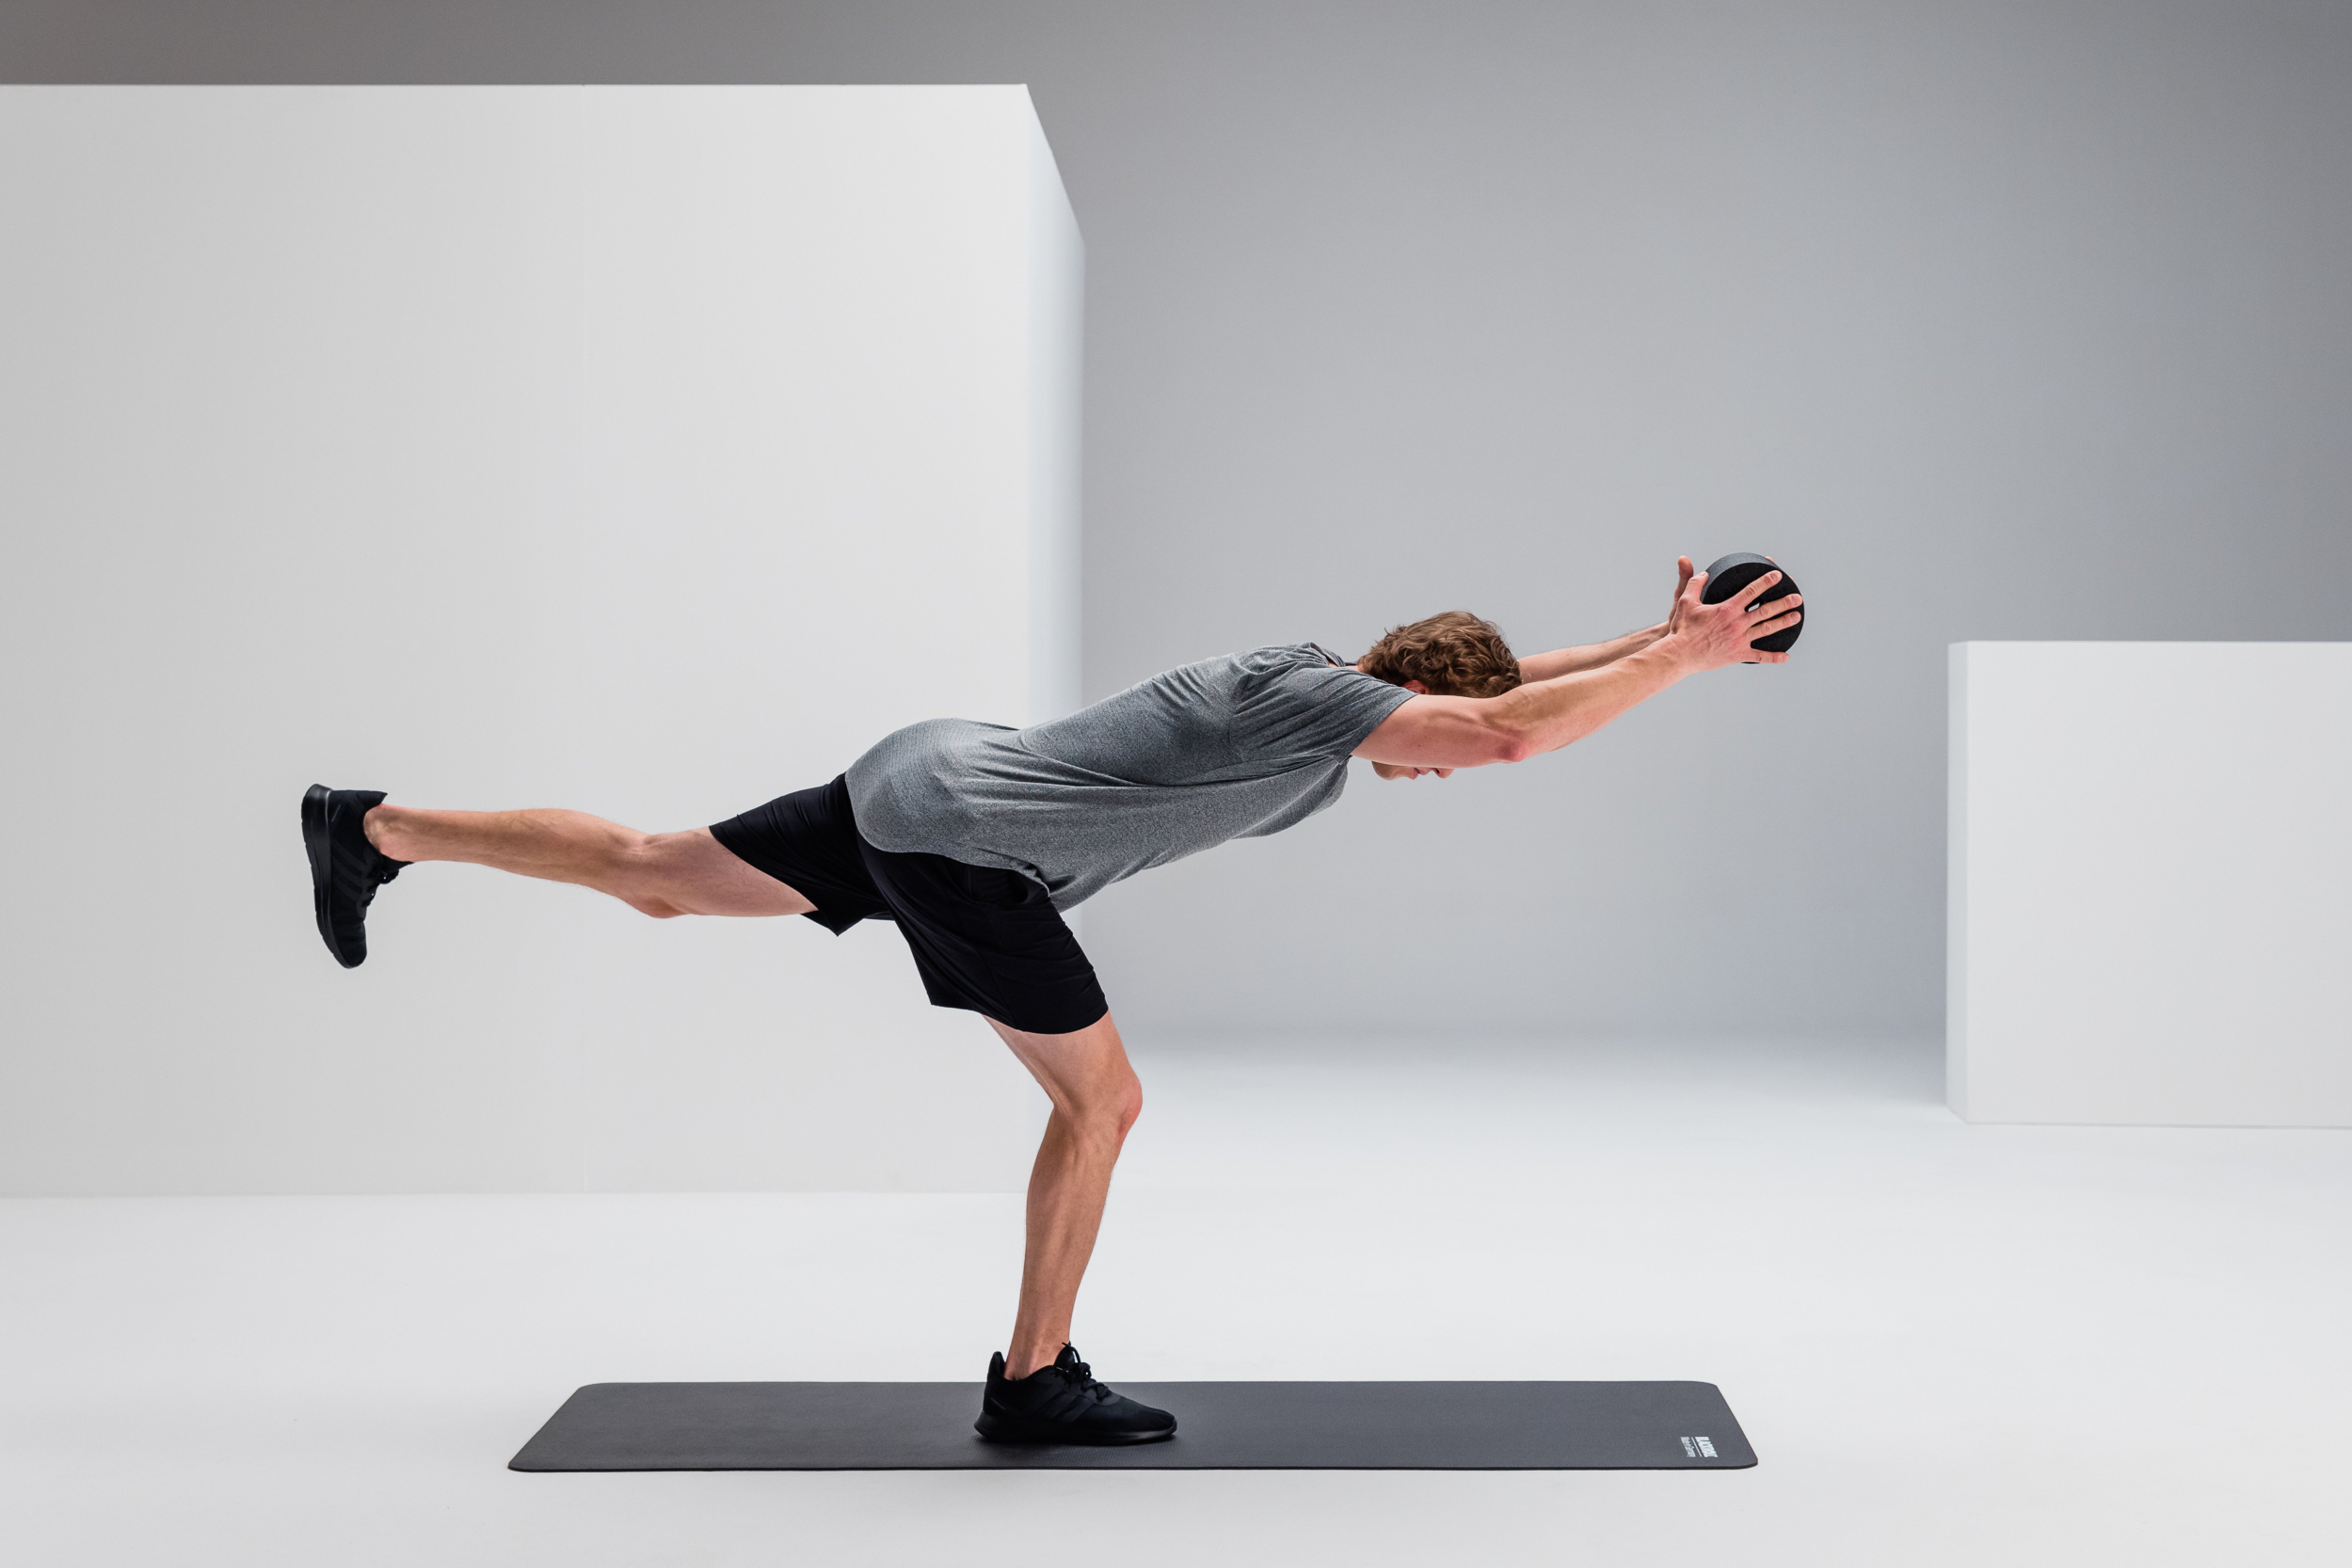
Standing Balance
Stand with your feet hip-width apart. Hold the FASCIAL ROLLER between your hands and extend your arms upward. Bend your upper body forward. Lift one leg until your body is parallel to the floor. Then return to the starting position. Bend the knee of your supporting leg to achieve greater stability.
Donkey Kicks
Get on all fours. Wrap a MULTI BAND around one hand and the diagonally opposite foot. Extend your foot backward and upward. Slowly return to the starting position. Make sure your pelvis stays straight and that you don’t arch your back.
Pallof Press
Secure the SUPER BAND to an object at thigh height. Kneel in a side lunge position next to it. Grab the free end of the band. Move away from the anchor point so that the band is under tension. Push the band forward. Then return to the starting position.
Trunk Rotation
Lie on your back on the GYMBALL. Place your feet on the floor. Extend both arms upward. Twist your upper body to the side. Your arms should be parallel to the floor. Return to the starting position. Position your back on the Gymball so that you are resting slightly at the level of your shoulder blades.
III. Cool-down & Stretching (5–10 minutes)
Quads
Stretch Wrap the SUPER BAND around your ankle. Grasp the other end and pull the band forward with your hands. Use the band to pull your leg further forward. Hold the position.
Lying Butterfly Stretch
Place the SUPER BAND over your knees from behind. Lie on your back and let your legs fall outward. Hold the position. Make sure your lower back stays on the floor.
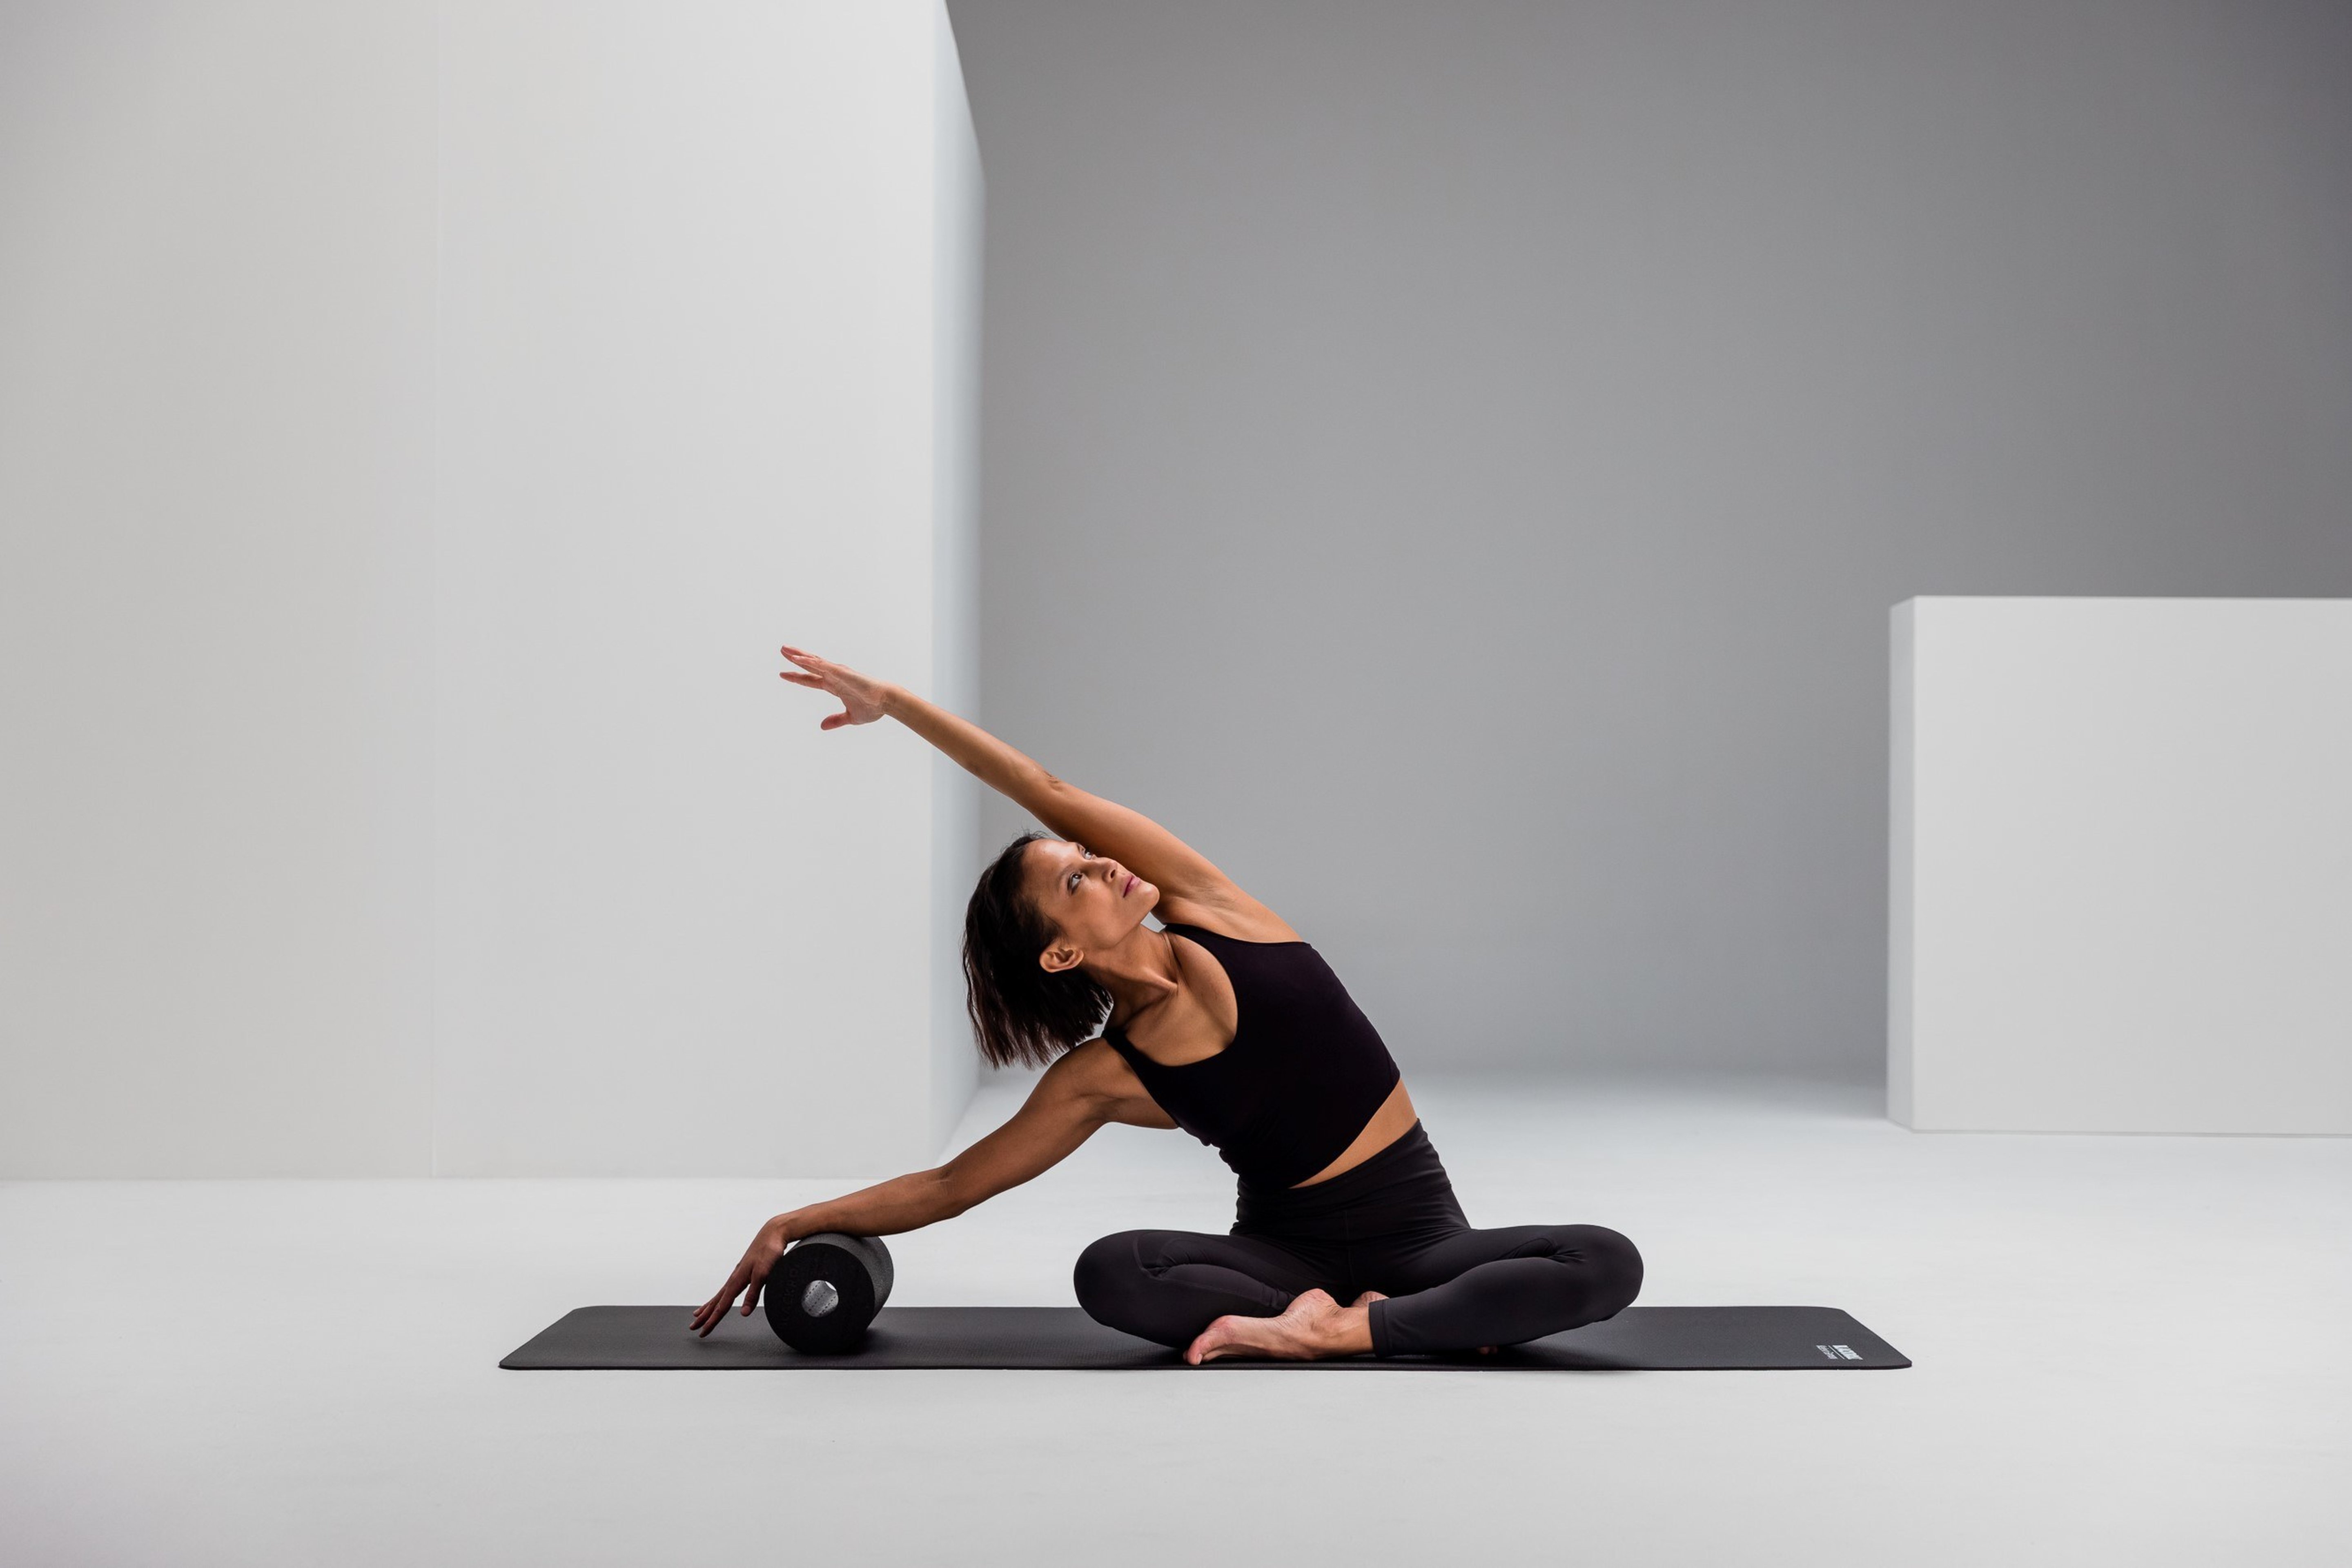
Spinal Mobilization
Start in a cross-legged position. Place the FASCIAL ROLLER to your right . Place your right hand on the roller. Extend your left arm over your head while leaning your upper body to the right. Hold this position before switching sides. Your upper body should only perform a lateral bend during this exercise. Be careful not to lean forward or backward.
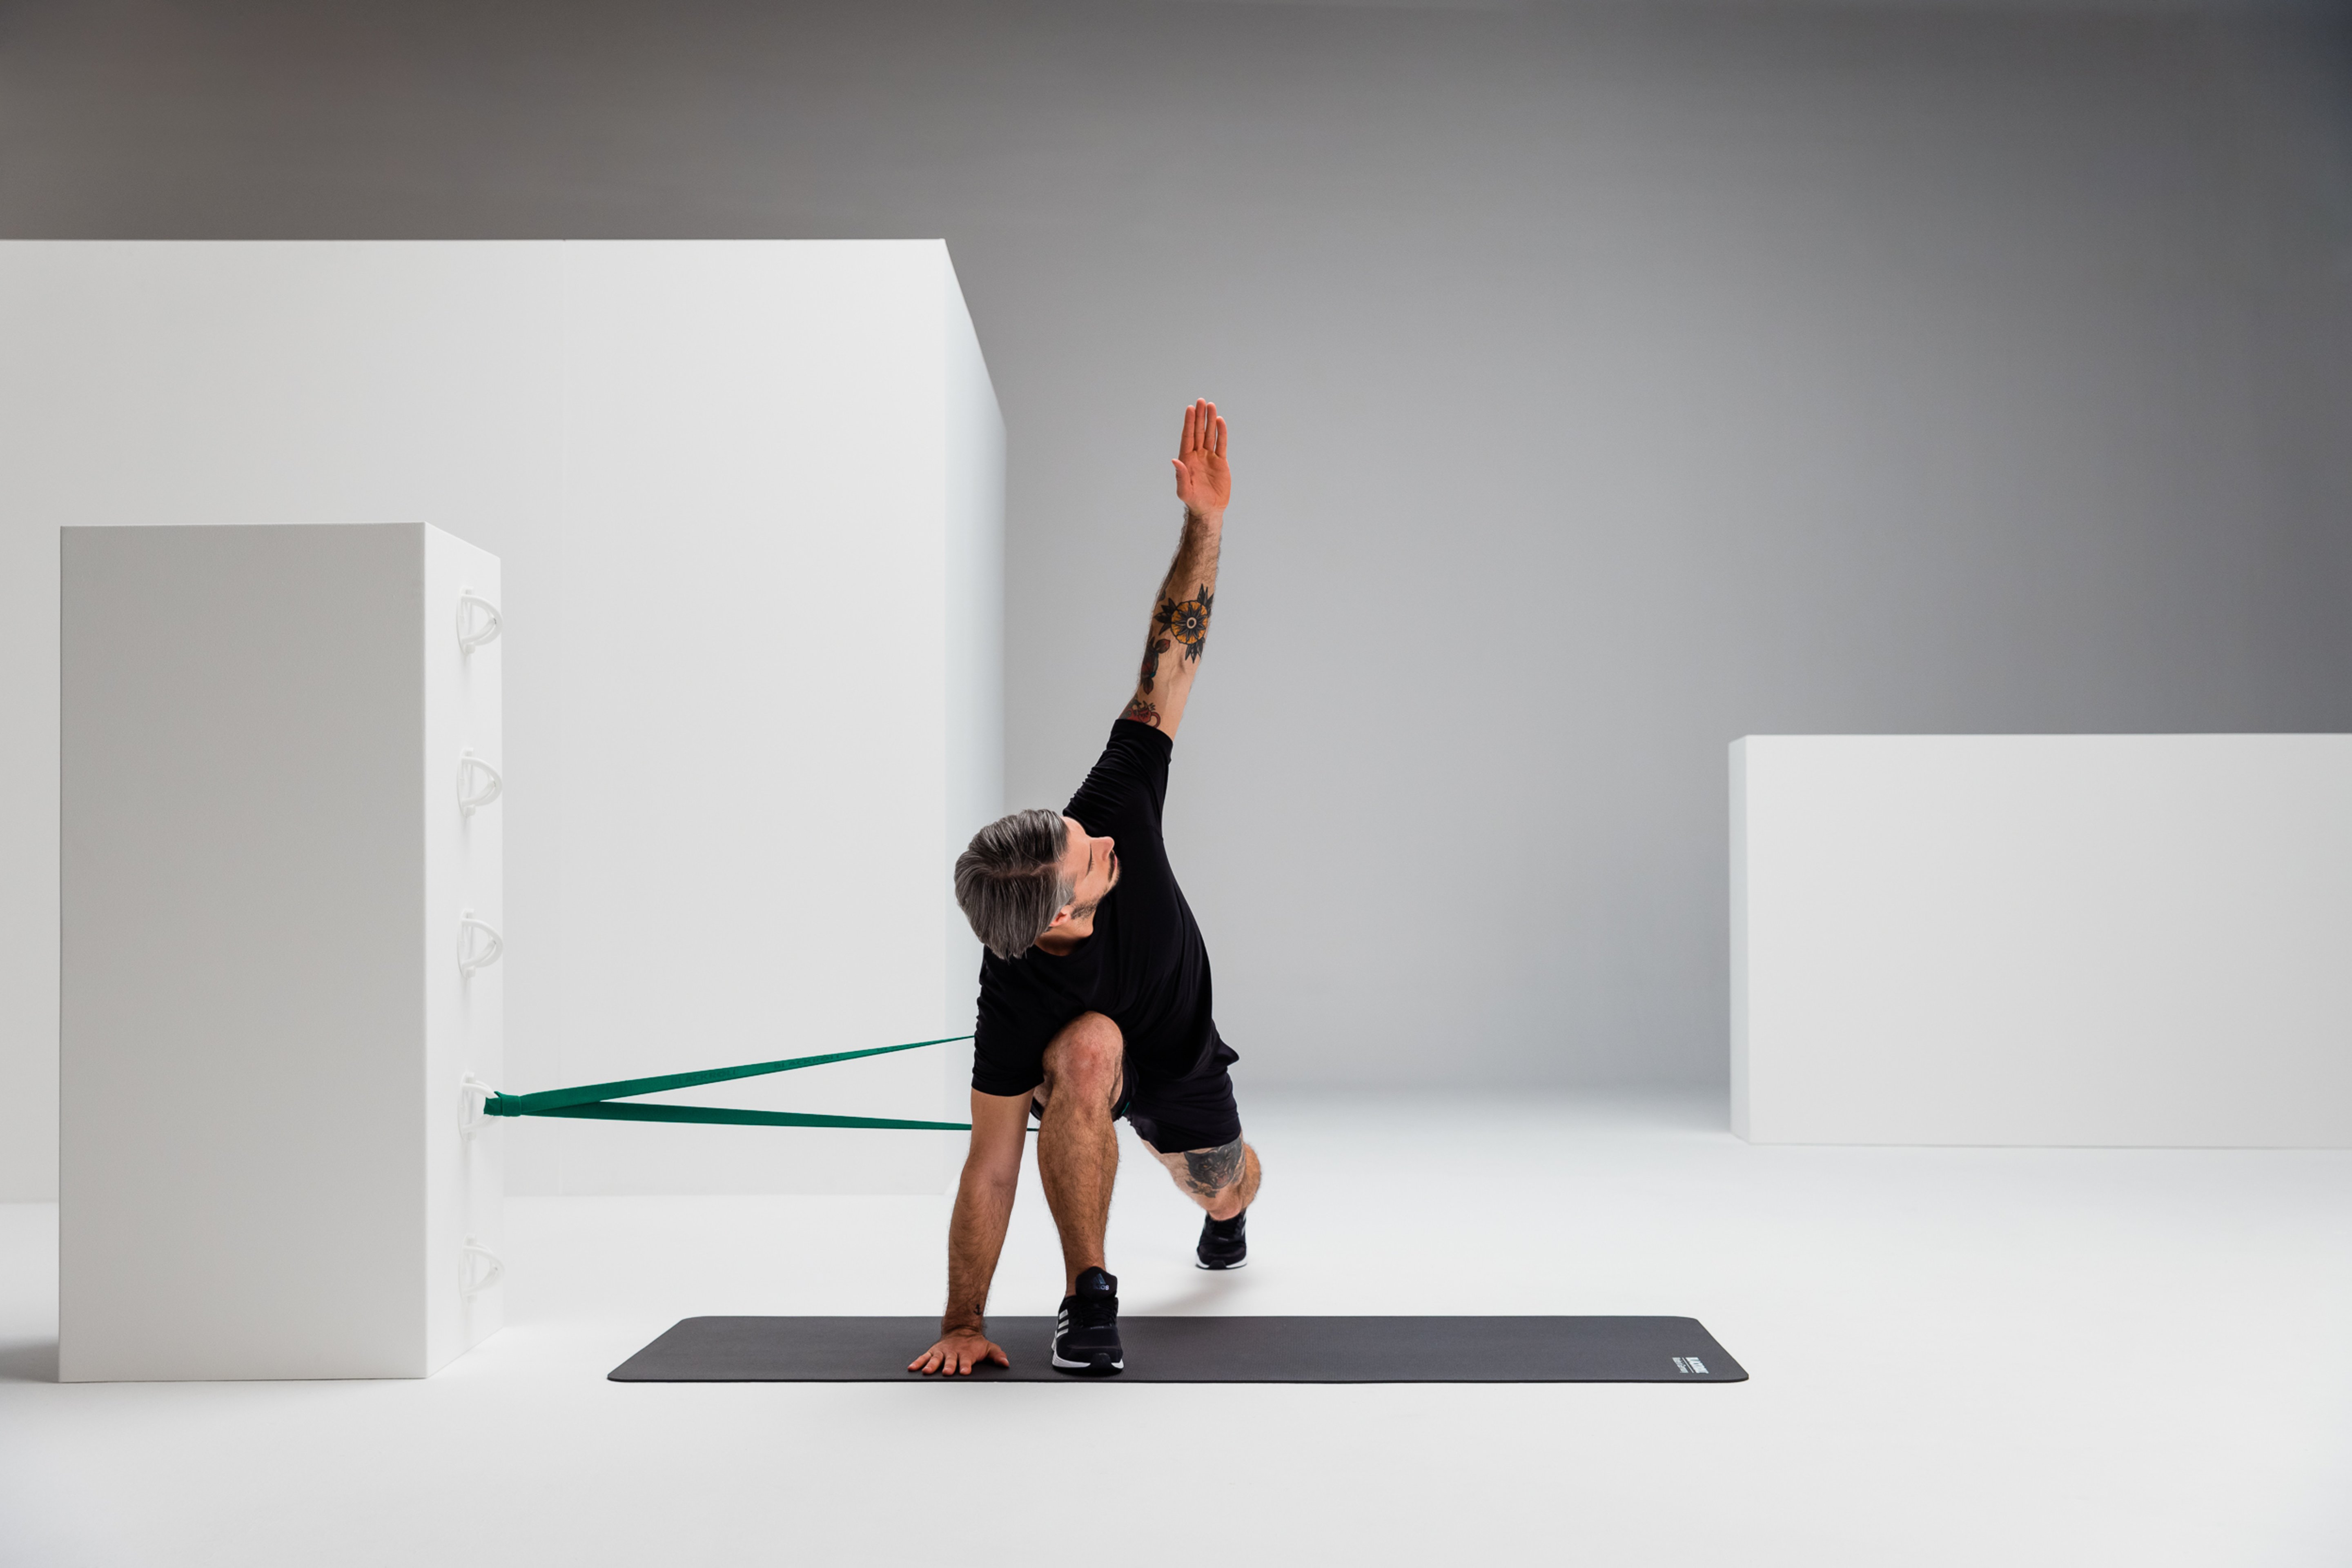
World’s Greatest Stretch
Start in a one-legged kneeling lunge. Wrap the SUPER BAND around your thigh from the inside. The pull should come from the side. Extend your back leg straight behind you. Lift your chest up. You should already be able to feel a stretch in your hip.
To mobilize the entire frontal and spiral lines, you can lift the arm on the side of the extended leg and rotate it over your thoracic spine toward the ceiling. You can also easily do this exercise without the SUPER BAND.
With these warm-up tips and exercises, you’ll be perfectly prepared for the slopes and can enjoy a fun-filled day of skiing.


